.png)


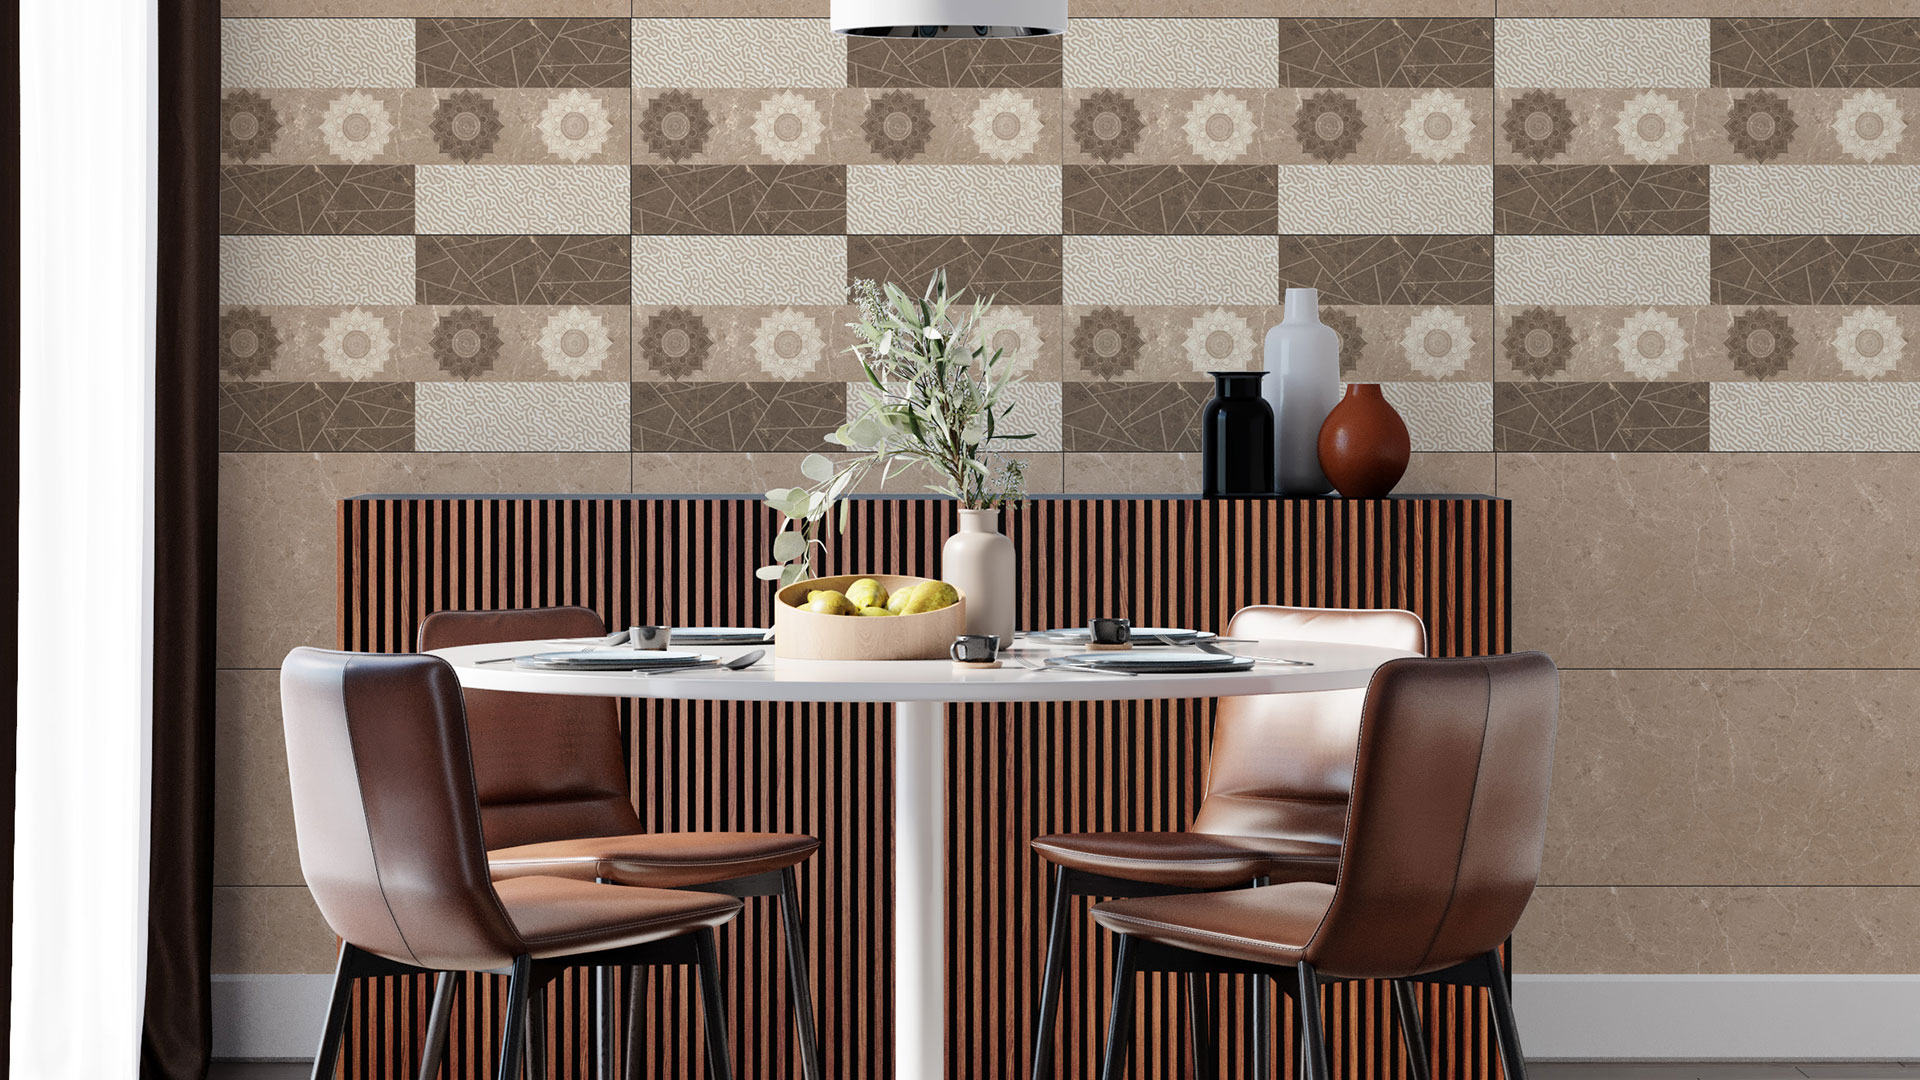
Marble Texture Tiles: A Demonstration of Elegance
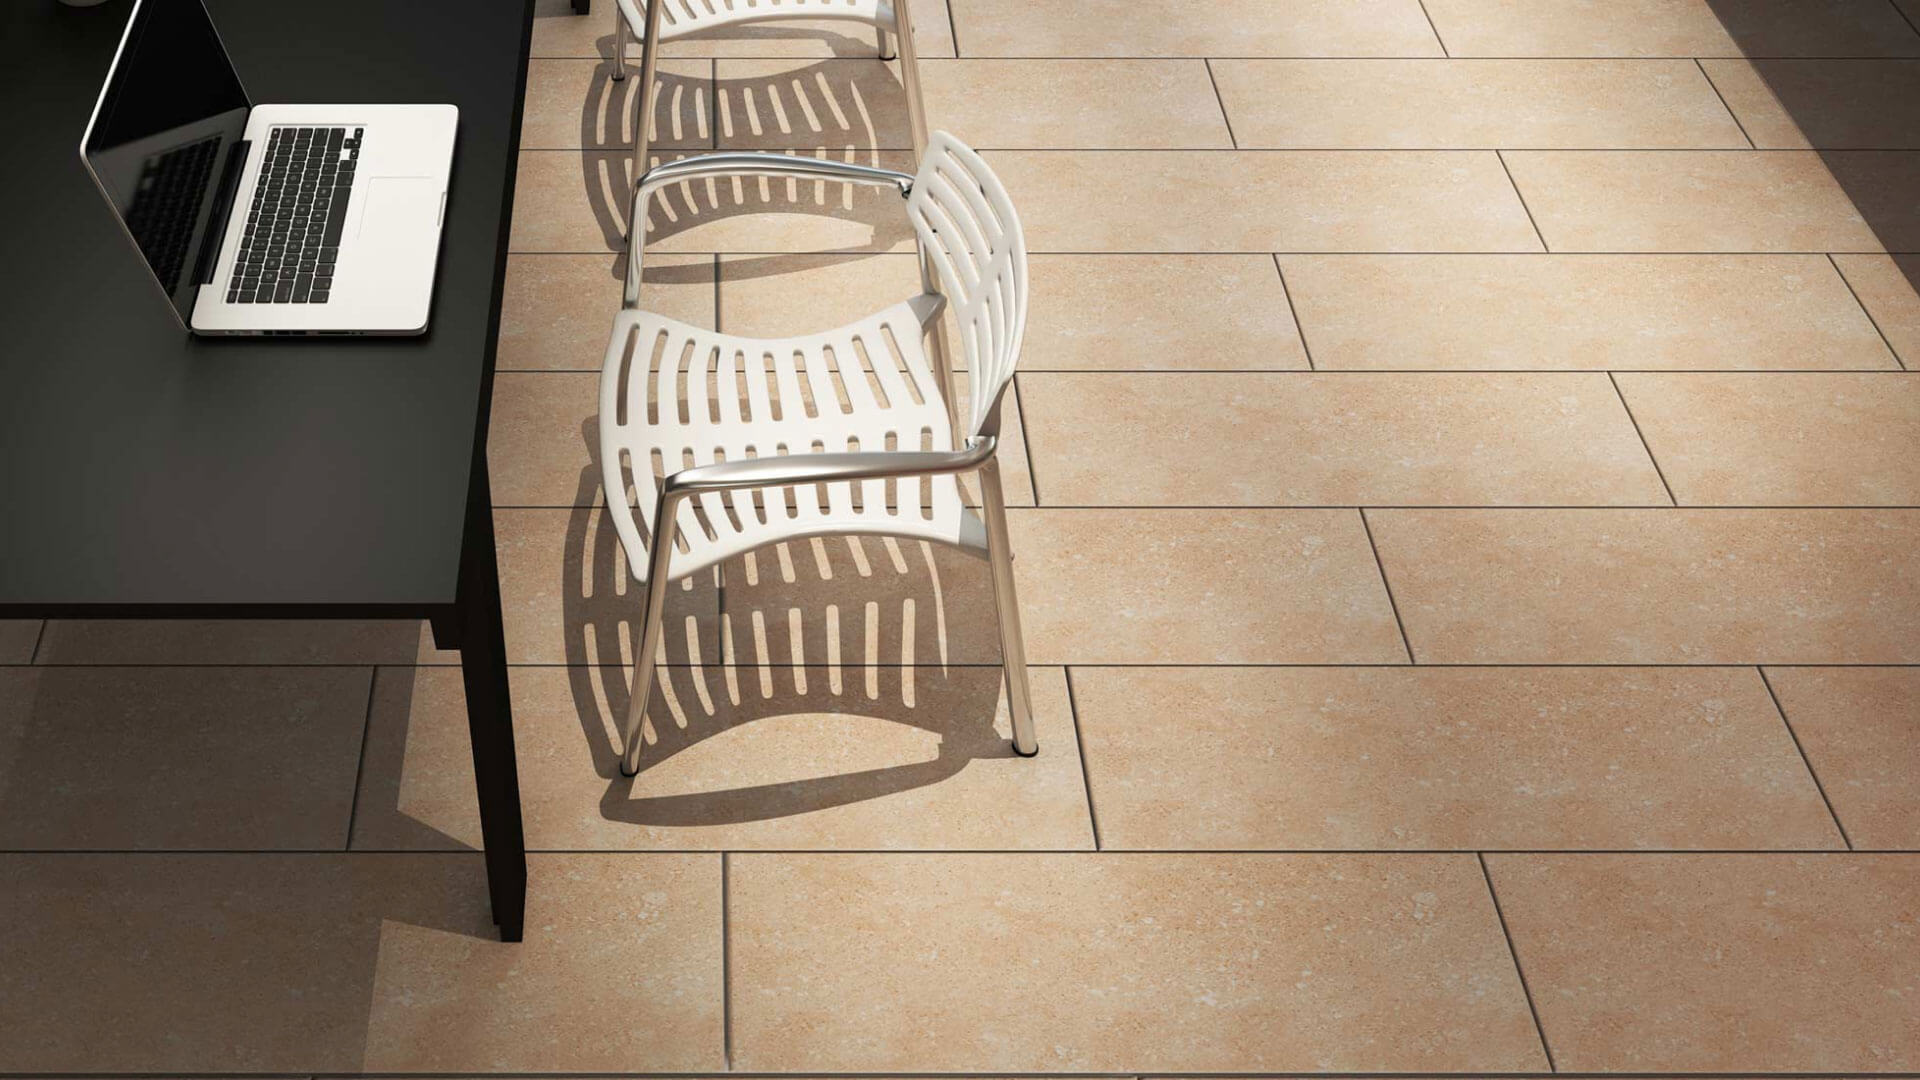
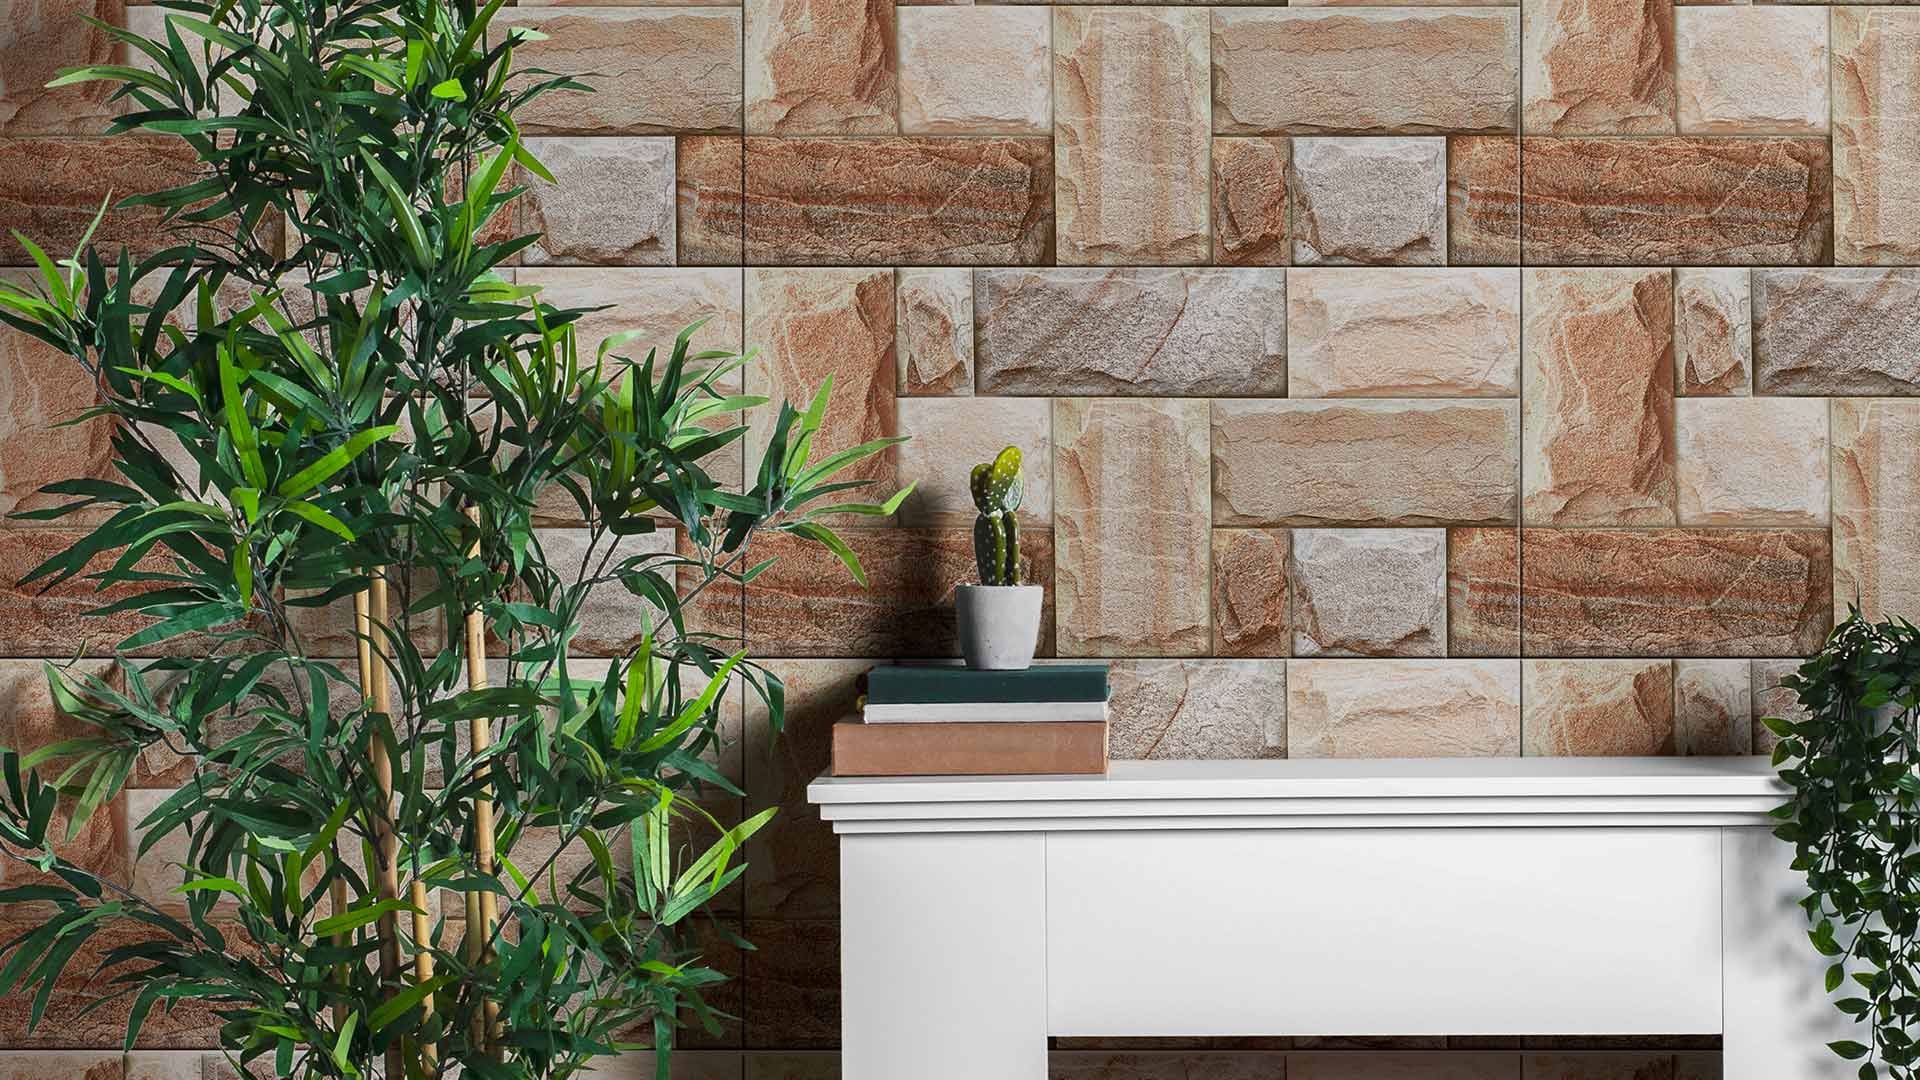
Introduction: Marble is a texture that is a popular choice for many uses, such ...
/ 06 October 2025
Standing on your shining floor in a lazy afternoon, one curiosity might have struck in your thought - how ceramic tiles are made? What process made the raw clay into these shining glossy tiles under your feet? You’re not alone who experienced this fancy thought.
Today we’ll walk you through the factory where raw clays become shining tiles. You’ll get to know the step by step process of ceramic tiles making in the simplest possible way. There are 9 crucial steps to manufacture ceramic tiles.
So, without going any further, let’s start with “Step-1”.tiles
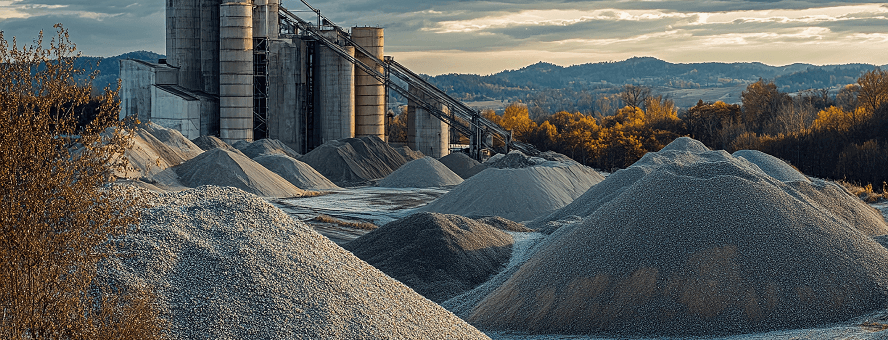
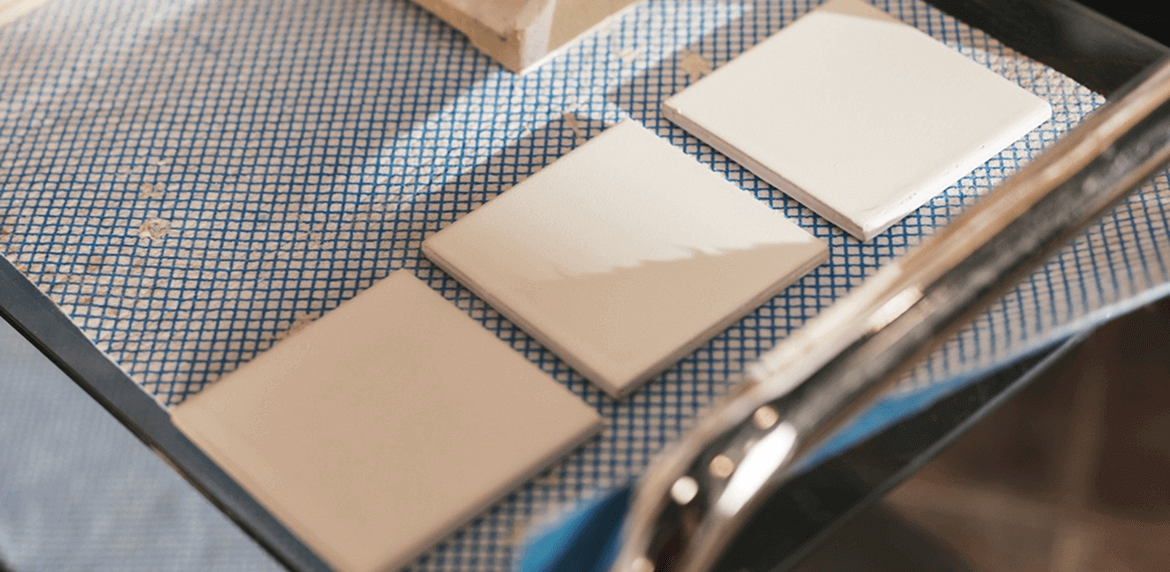
It all starts with raw materials - primarily clay, sand and feldspar. These are collected from riverside, mining and quarrying sources. But not all clay and sand can be used in tilemaking.
The raw materials are tested carefully in a laboratory before making their way into the factory. Experts inspect some vital things such as plasticity, moisture content to mineral composition and purity. That step makes the clay easy to shape. The sand adds strength and the feldspar makes it melt and bond properly while firing.
After all, “step-1” ensures all materials collected pass the set standards. This part is crucial because the quality of the final output solely depends on the quality of raw materials.
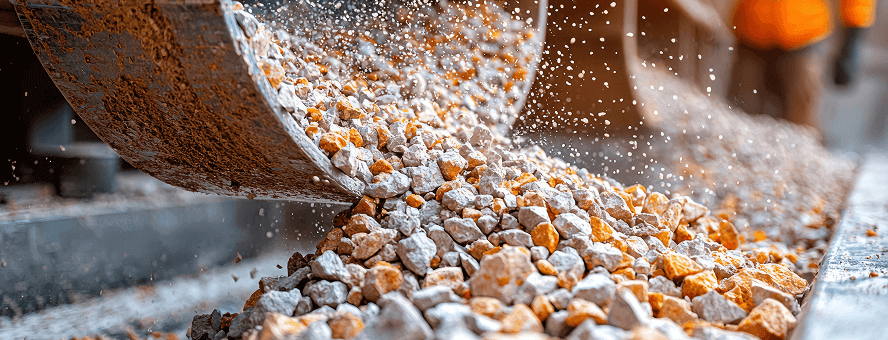
Once the raw materials are approved, they don’t go straight into tile making. First, big chunks of clay, sand, and feldspar are crushed into smaller pieces. This makes them easier to handle and mix.
After crushing, the materials move to milling machines. Here, they are ground into a fine powder. The goal is to get a smooth and uniform texture so that the tiles later come out strong and even. Water is often added during this stage to create a slurry, which helps the particles blend well.
DBL Ceramics has been instrumental in manufacturing and delivering quality tiles for years. Check out how we make each tile with cutting edge precision.
Check out how DBL Ceramics manufacture tiles with cutting edge precision.
When the blending part is done, next comes batching. This simply means measuring the right amounts of each material before mixing. Think of it like following a recipe. Too much clay or too little feldspar could spoil the balance. So, precise batching ensures the “recipe” for every tile remains consistent and reliable.
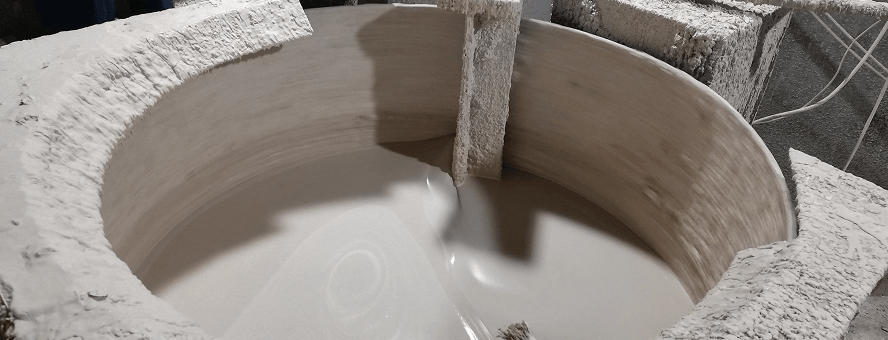
After batching, the finely ground mix is blended with water in large tanks. This creates a thick liquid called slurry or body slip. The slurry is carefully stirred so that every particle of clay, sand, and feldspar is evenly distributed. This step is important, because a uniform body slip means the tiles will have consistent strength and quality.
But tiles cant be made from liquid, so the slurry goes through spray drying. In this process, the slurry is sprayed into a tall chamber filled with hot air. The water quickly evaporates, leaving behind tiny granules of powder. These granules are soft, free-flowing, and perfect for pressing into tile shapes in the next step.
This stage turns the raw mix into a ready-to-use powder that has the right moisture balance and texture for shaping.
With the spray-dried powder ready, the next task is to give it shape. The powder is fed into hydraulic presses that squeeze it under very high pressure. This pressure compacts the granules into a solid, flat piece that looks like a tile but hasnt been hardened yet. At this stage, it is called a green tile.
The green tile is firm enough to hold its shape but still fragile. If you drop it, it can break easily. Thats why careful handling is important. Sometimes, patterns or surface textures are also pressed in during this step, depending on the tile design.
This stage is all about shaping the foundation. The tile now has its size and form, ready to move forward for drying and further strengthening.
Freshly pressed green tiles still contain moisture from the spray-dried powder. If they are fired in this state, the water would turn into steam and cause cracks or even break the tile apart. To prevent this, the tiles go through controlled drying.
In large drying chambers, warm air is circulated around the tiles to remove the moisture slowly and evenly. The process is carefully monitored, because drying too fast can make the tile warp, while drying too slow wastes time and energy.
By the end of this stage, the tiles are strong enough to handle the next steps without damage. They now have a stable shape and are ready for glazing and firing.
Once the dried tiles are ready, they move on to glazing. A thin liquid layer of glaze is applied on the tile surface. This glaze works like a glassy coat that seals the tile body, adds strength, and prepares it for decoration. It also gives the tile its final glossy, matte, or textured finish.
After glazing, the tiles enter the digital decoration stage. Modern factories use high-tech digital printers to spray designs directly onto the glazed surface. Just like printing on paper, these machines can create anything from marble and stone effects to wood patterns or even custom graphics. This technology allows every tile to look natural, stylish, and unique.
By the end of this step, the tiles have both protection and beauty—the plain clay body has started to transform into something visually appealing and durable.
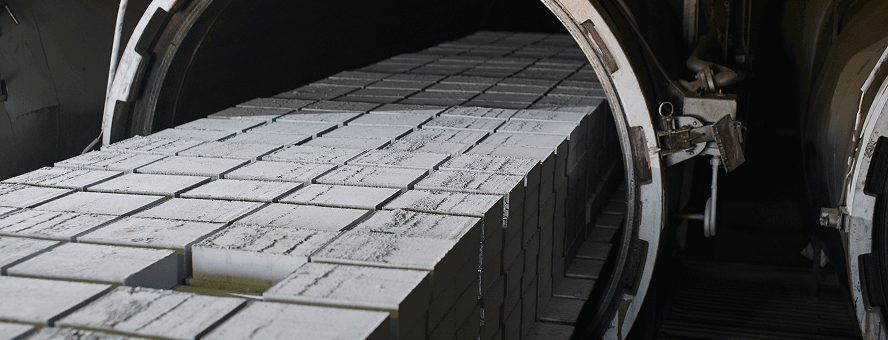
This is the stage where the tile truly becomes a tile. The glazed and decorated green tiles are placed into a long tunnel kiln. Inside, the temperature rises gradually, often reaching over 1,200°C.
fuses the raw materials together. This process is called sintering. The clay hardens, the feldspar melts slightly to act like a glue, and the glaze turns into a smooth, glassy layer on the surface.
The result is a tile that is strong, dense, and durable. Its final strength, color, and finish all come from this firing stage. Without it, the tile would remain weak and breakable.
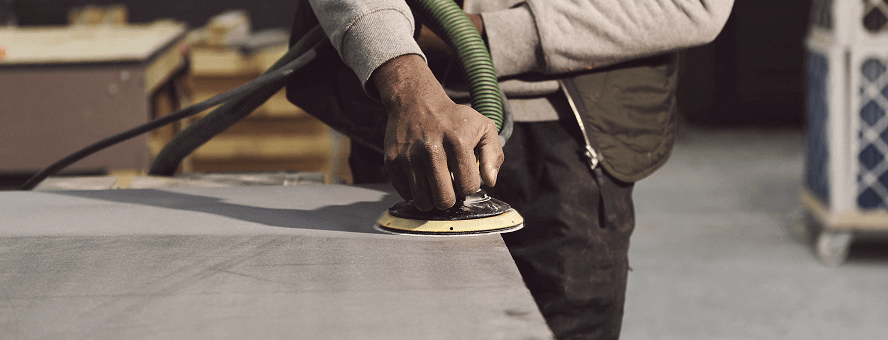
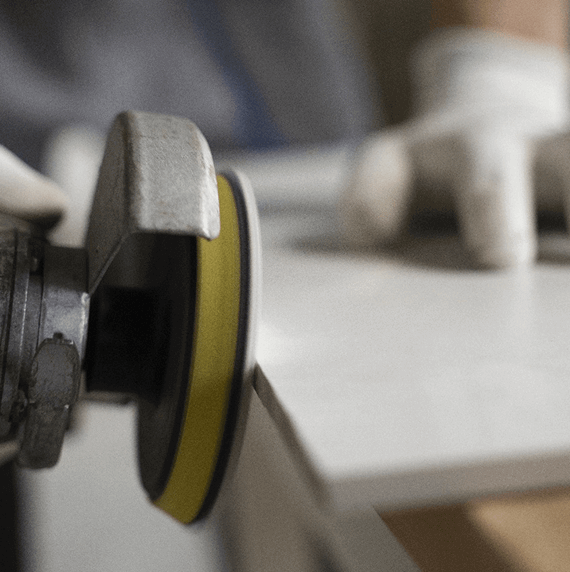
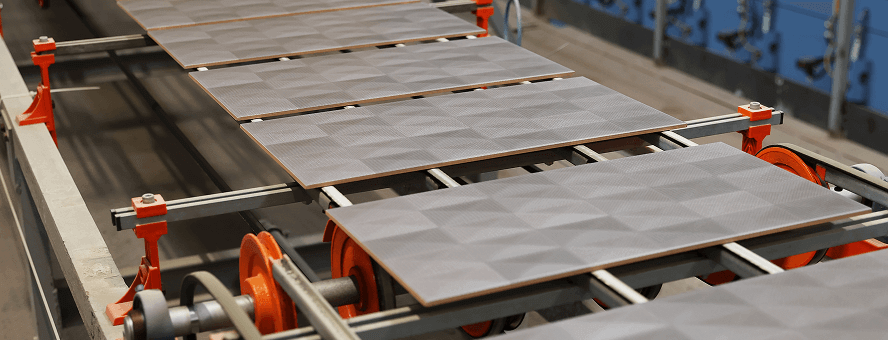
After firing, the tiles are strong and durable, but they still need some finishing touches. In this stage, the edges are trimmed and polished to make sure each tile has the correct size and shape. Some tiles also go through grinding machines to achieve perfectly straight edges, a process often called rectification.
This edge work makes it easier to install the tiles with thin, even grout lines. For certain designs, the surface may also be polished or given a matte finish to match the desired look.
By the end of this step, the tiles are not only strong but also refined, ready to be checked for quality before reaching the showroom.
Before the tiles reach the market, they go through strict quality control checks. Each batch is carefully inspected for cracks, color consistency, surface smoothness, and edge accuracy. Any tiles with visible defects are separated and discarded.
Beyond appearance, the tiles are also tested for performance ratings. This includes measuring water absorption, checking surface hardness, slip resistance, and strength under pressure. These tests ensure the tiles can handle real-life conditions - whether thats heavy foot traffic in a shopping mall or constant cleaning in a bathroom.
Only the tiles that meet international and local standards are approved. This step guarantees that customers get tiles that are not just beautiful but also reliable and long-lasting.
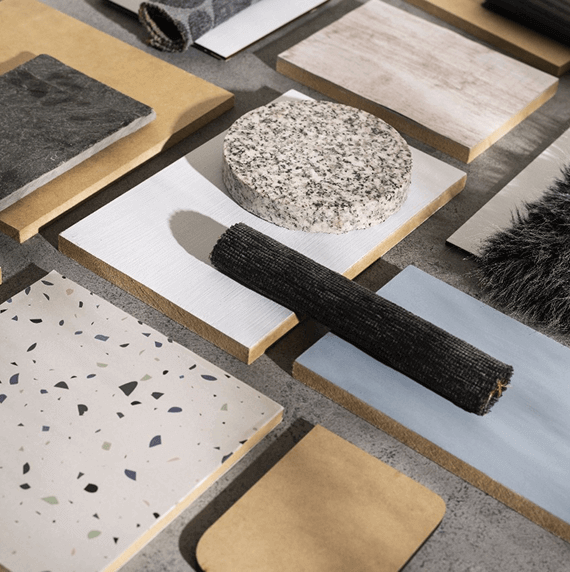
Even though ceramic tiles come with different designs, patterns, and textures, the core process of manufacturing tiles is almost the same. Some tiles such as porcelain, mirror finished tiles etc might require some extra steps to get the expected output. If you are more curious, you can check out our video on how DBL Ceramics manufacture ceramic tiles provided in the middle of this discussion.
Ceramic tiles are made with less dense clay and fired at slightly lower temperatures. They are easier to cut and usually more affordable. Porcelain tiles, on the other hand, are denser, harder, and less porous, making them better for heavy-traffic areas and outdoor use. To know the difference in more details, you can check out our dedicated discussion on ceramic vs. porcelain tiles.
Warping or cracking often happens due to uneven drying, sudden temperature changes, or poor installation. Using quality tiles and proper installation methods greatly reduces this risk.
No. Modern glazing and digital printing technology make colors long-lasting. The glaze also adds a protective layer, which resists scratches and keeps the design looking fresh for years.
Rectified tiles have their edges mechanically trimmed after firing, so they are perfectly straight. This allows for thinner grout lines and a seamless look. Non-rectified tiles are slightly irregular, which gives a more traditional feel. The “better” choice depends on the look you prefer.
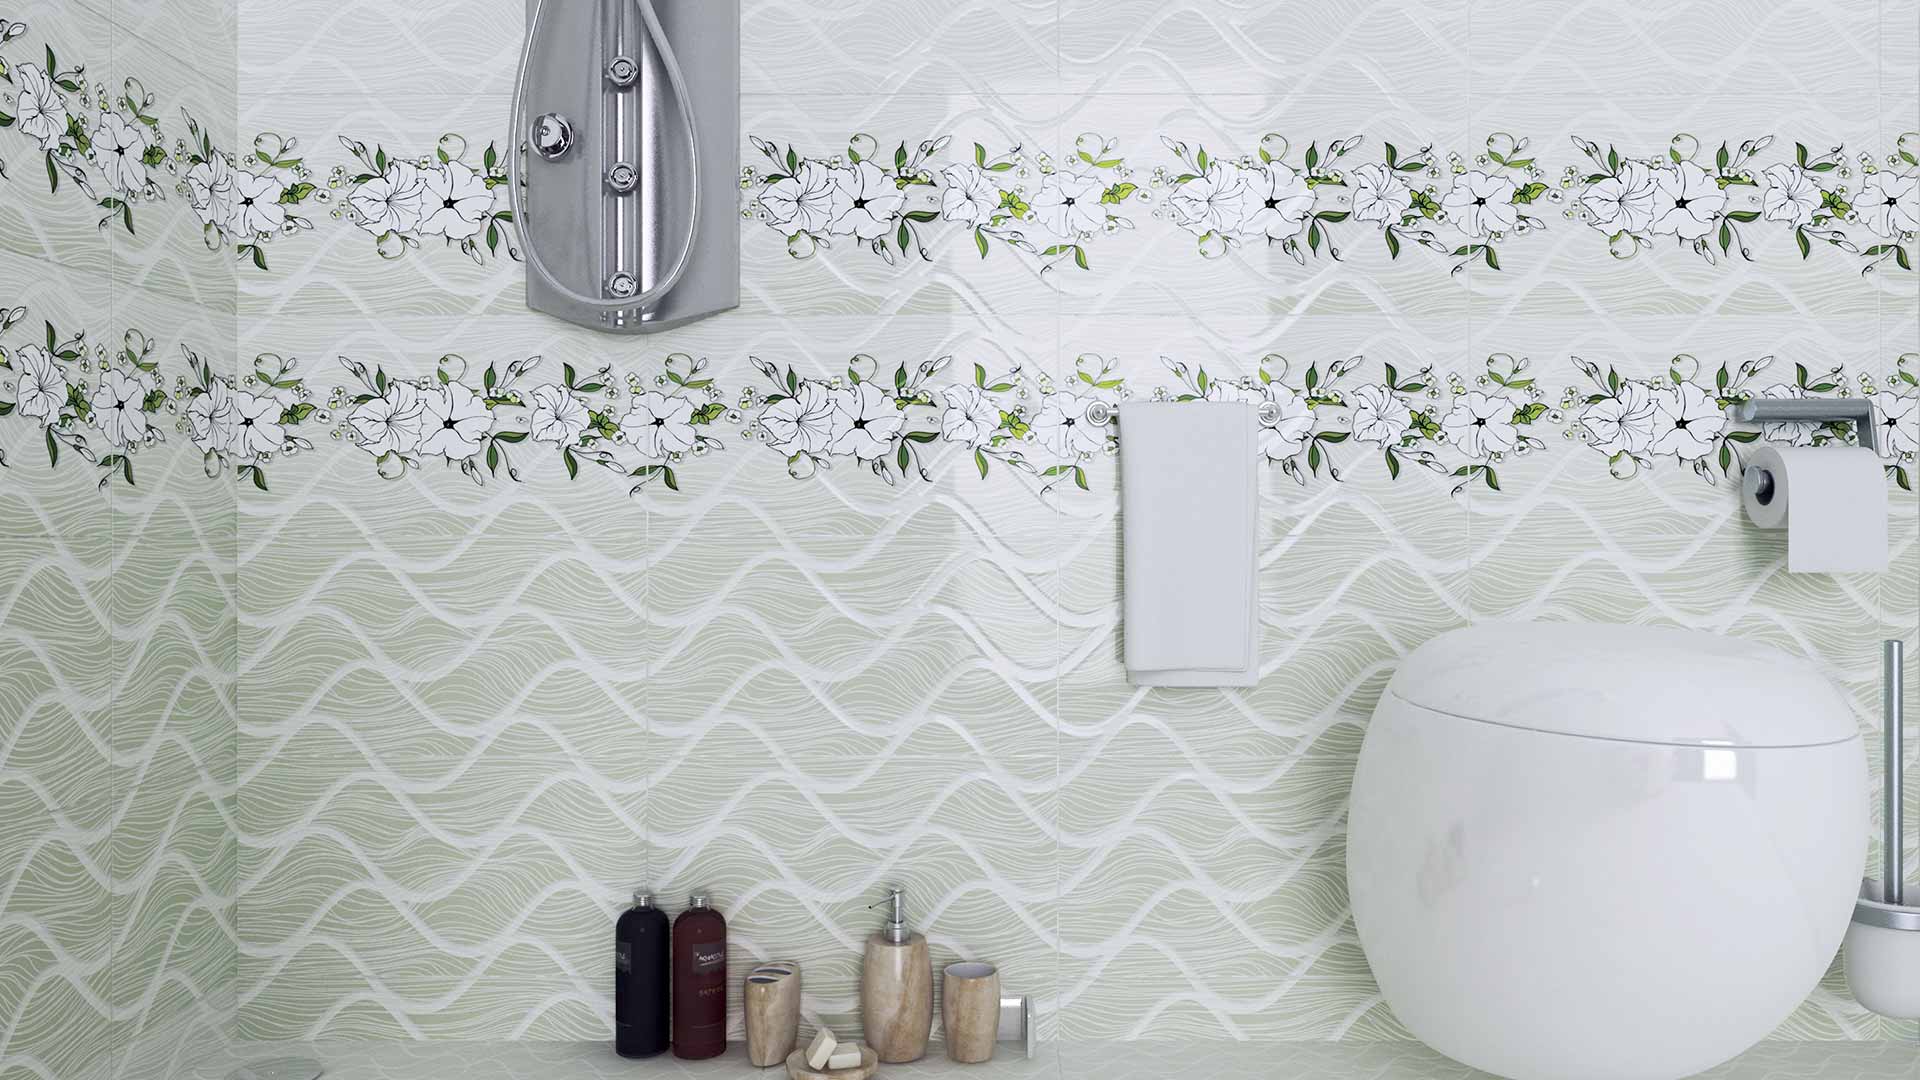
For bathrooms, it’s best to pick tiles with a matte or textured finish, or those with a certified slip-resistant rating. These surfaces provide better grip when wet, reducing the risk of slips and falls.
Introduction: Marble is a texture that is a popular choice for many uses, such ...
Whether you agree with it or not, a house's bathroom is an essential space for p...
Do you ever feel like your tiny bathroom is enclosing you? Does it still seem cl...
Floor tiles is the most important element in making a home look modern nowadays....
The world is going ahead in every sector, including technology, agriculture, edu...
Have you ever entered a room that instantly amazes you? Alongside the decoration...
Tiles are not just for decoration. Good tiles with good and classy designs add b...
A small living room is intimate, cosy, and quite challenging to decorate! A smal...
What immediately comes to your mind when you think of remodelling your home? W...
When walking across a tile floor, you may notice scratching, cracking, or bounci...
People often stress about kitchen backsplashes, living room tiles and even porch...
Good walls make good impressions. The first thing people notice about your prope...
When discussing the floor, most people still continue to use the same concept of...
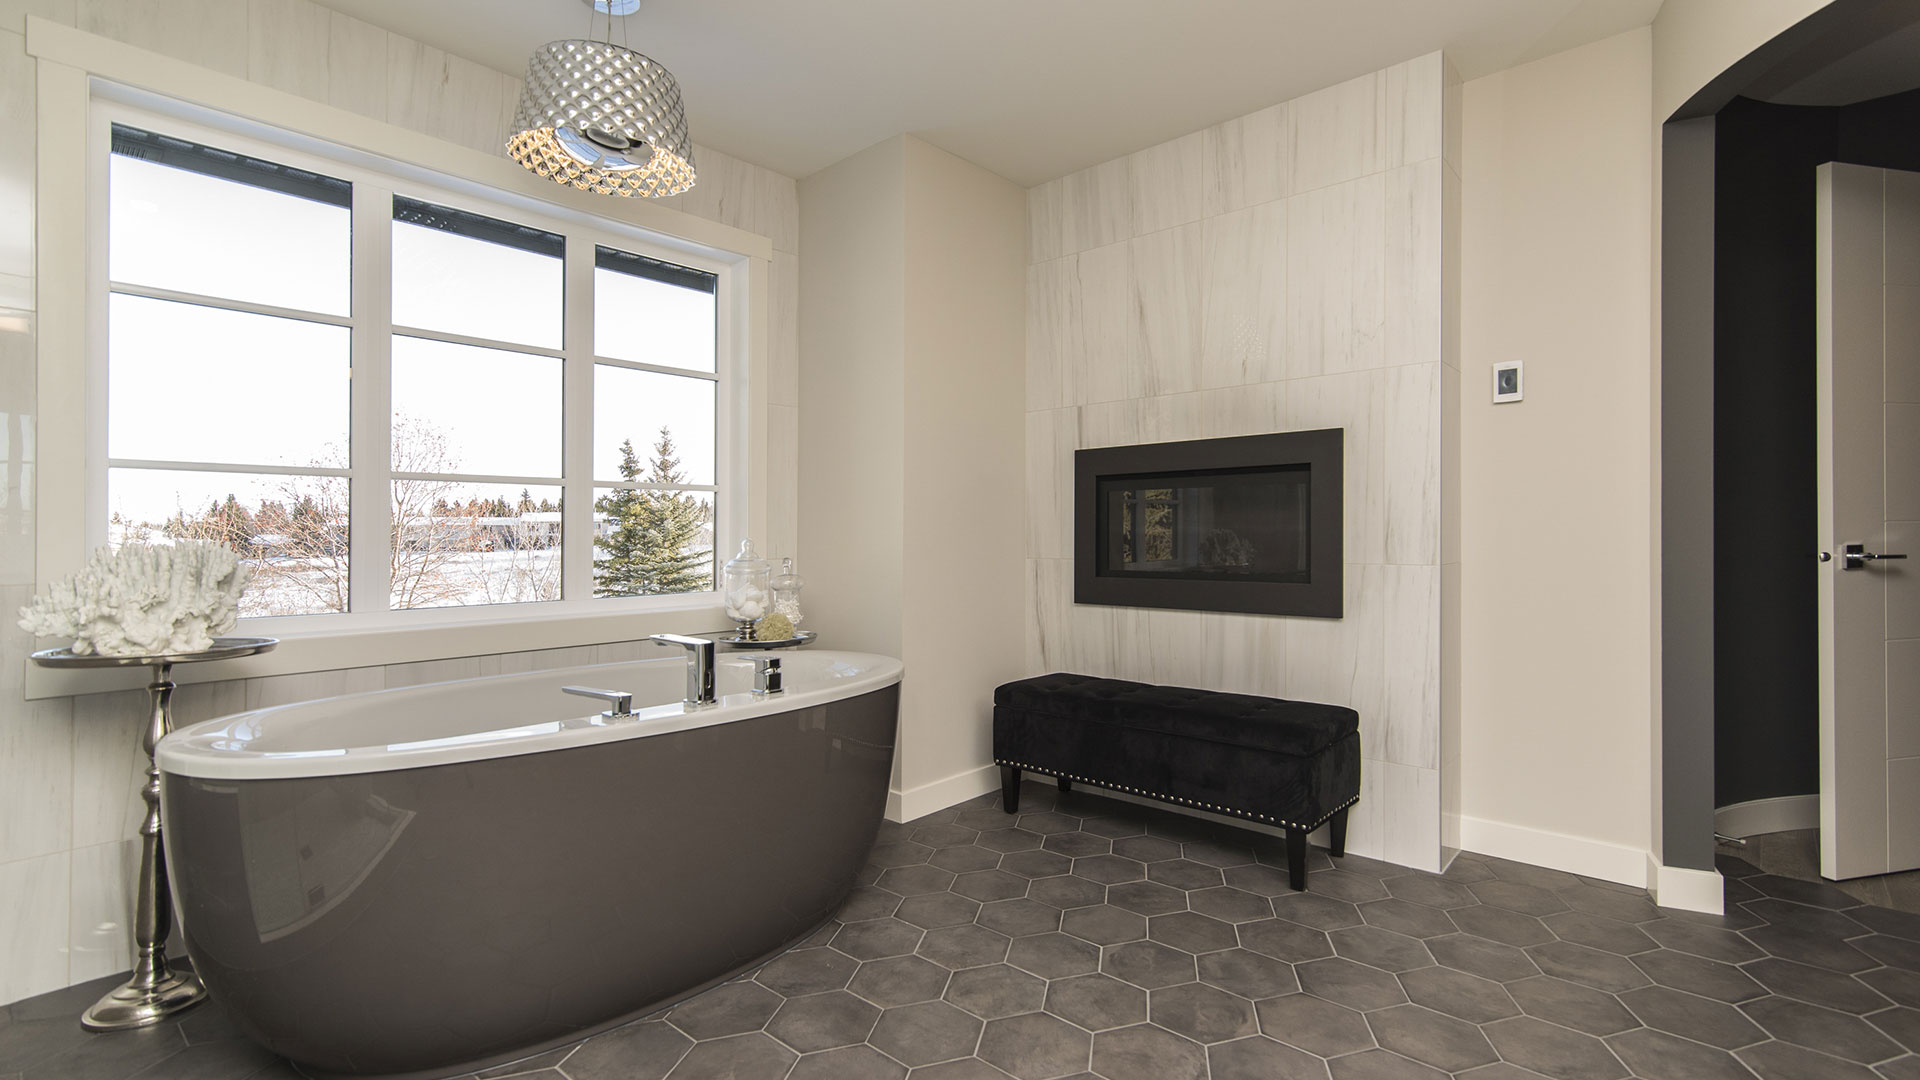
When designing or renovating a home, the bathroom often becomes an afterthought,...
The phrase "homogeneous tiles" can be used to select tiles for your house or pla...
Carpet tiles, also known as carpet squares, are small, east-cut carpet pieces th...
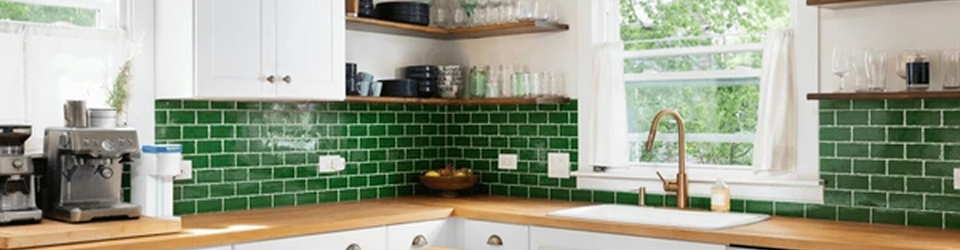
Imagine stepping into your kitchen after a long day in the bustling streets of D...
A good flooring defines the character of a home. When your guests step on the fl...
Let's be honest: your kitchen tiles have seen better days. Between the tomato sa...
Have you ever walked into your kitchen, looked around, and felt like something j...
Have you ever walked into someone's living room and immediately felt l...
The kitchen is often considered the heart of the home. It is a place where meals...
The use of wall tiles in modern home decor is a necessity, as this product combi...
You walk into a tiles showroom thinking it will take thirty minutes. Two hours l...
Imagine two buildings side by side somewhere in Dhaka. The first monsoon rain of...
You are standing in a tile showroom somewhere in Tejgaon or Mirpur. You have fou...
Your living room is the first thing guests see and the last space you relax in a...
Choosing the right floor tiles size can completely transform how a room look...
In Bangladesh, our kitchens work extra hard. Between high humidity, daily heat, ...