.png)


How to Clean Ceramic Tiles | Ceramic Tile Maintenance & Care
Don't you know how to clean ceramic tiles? You can easily clean ceramic tiles in...
/ 05 July 2022
Whenever we think of a home improvement or remodeling project, we often start feeling like we won't be able to do it properly. Why? Because most people don't know the how-to and the pro tips and usually rely on professionals to do the job for them. What if you could do it by yourself, without paying anyone else to do it for you, and with excellent finesse?
We will discuss techniques and pro tips about how to remove ceramic tiles from walls in this article. Follow through to learn more.
You might have chosen the best tiles for your living room, but after a certain time, you might need to remove ceramic tiles to renovate them. Whenever you consider removing the outdated, mundane, and drab ceramic tiles from your walls, do you feel like you don't know how and you'd only make a mess? Maybe you don't have the right tools.
Well, these concerns are irrelevant because you can learn easily how to remove ceramic tiles from wall with some very basic tools if you follow the process described below.
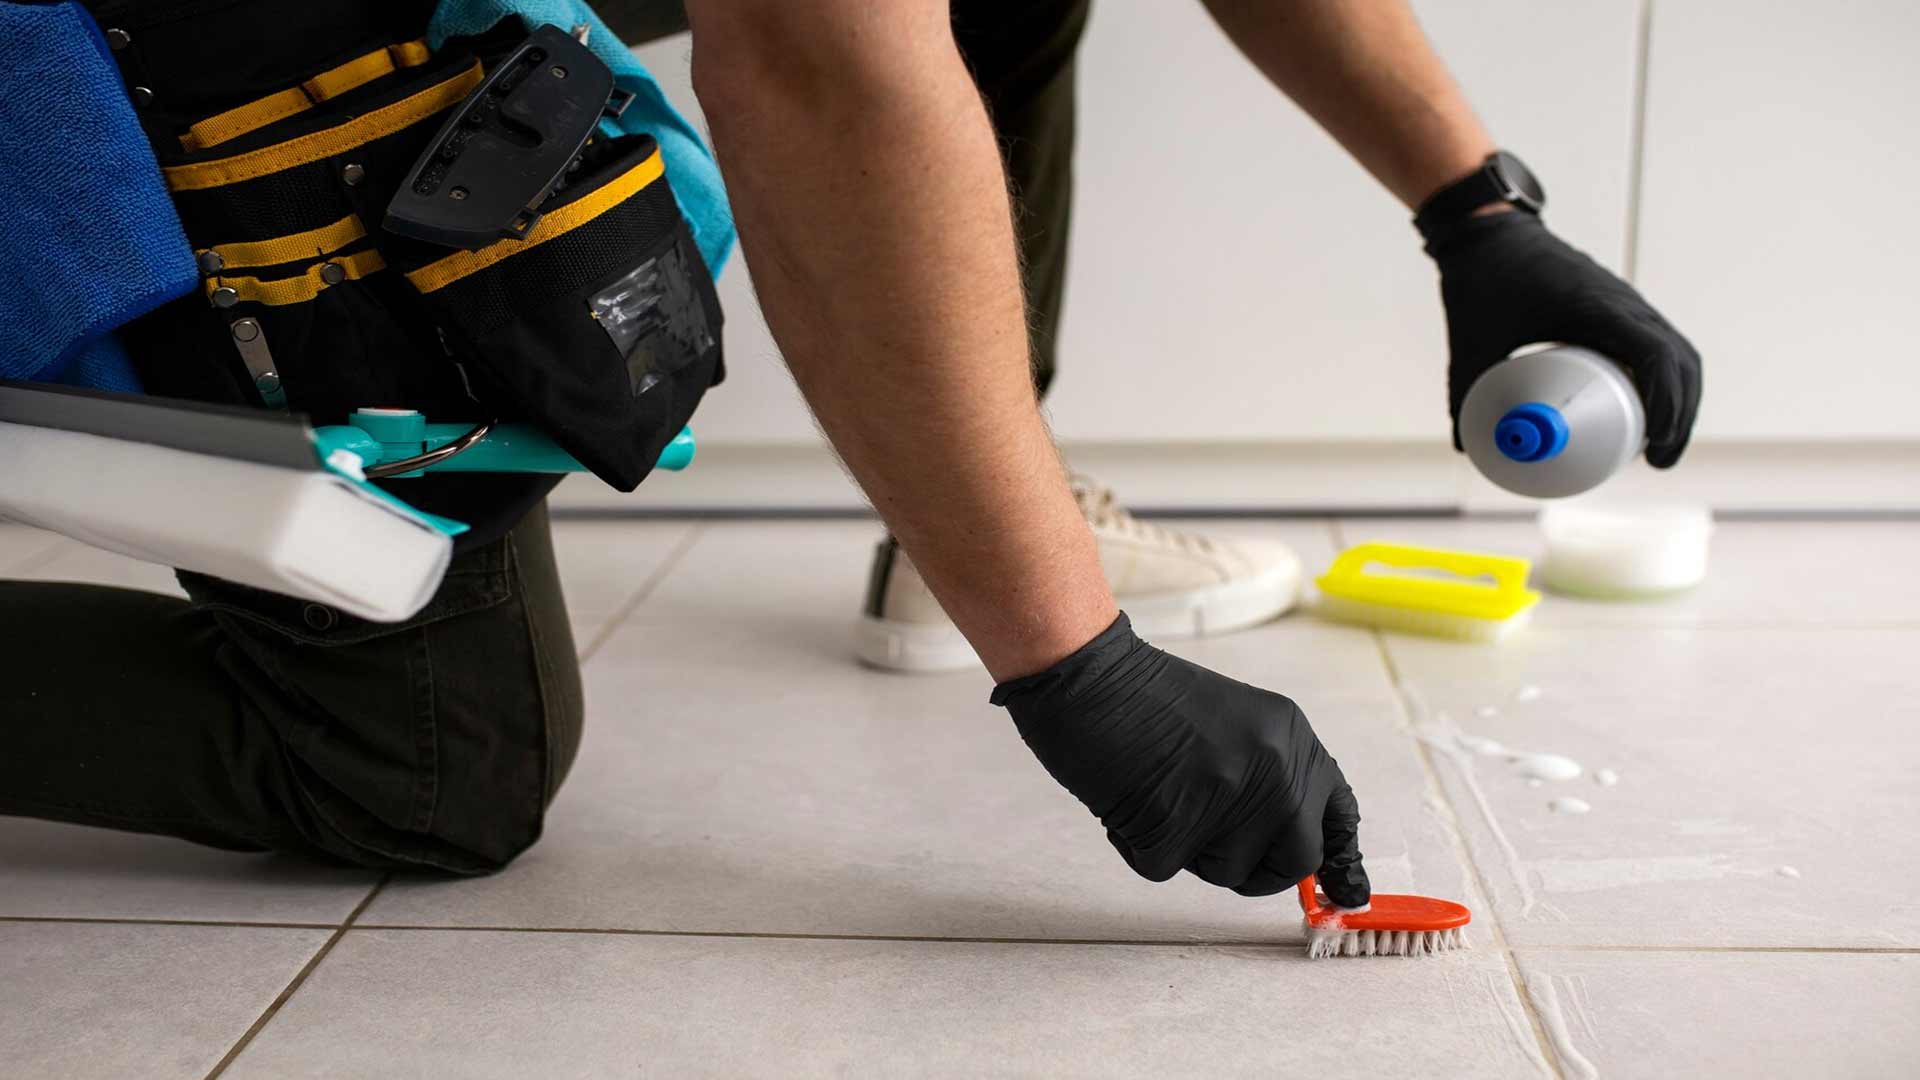
A professional tiler may have very specific and handy tools for each step to remove ceramic tiles, but that doesn't mean you can't do it by yourself with some basic tools.
Following are the items you would need to remove ceramic tiles from your walls yourself:
It's truly not that difficult to remover ceramic tiles from wall. It might be a little time-consuming and tedious. However, if you use some little tricks and tweaks that we are about to discuss, it becomes a piece of cake. You could actually redo the walls of any room in your house within a very short amount of time.
Following is the process:
Just like any other activity associated with construction or renovation, you need to maintain safety first and foremost. Also, you shouldn't just take precautions for yourself. You also need to take sufficient measures to ensure you don't damage the wall, appliances, furniture, or your home in a world.
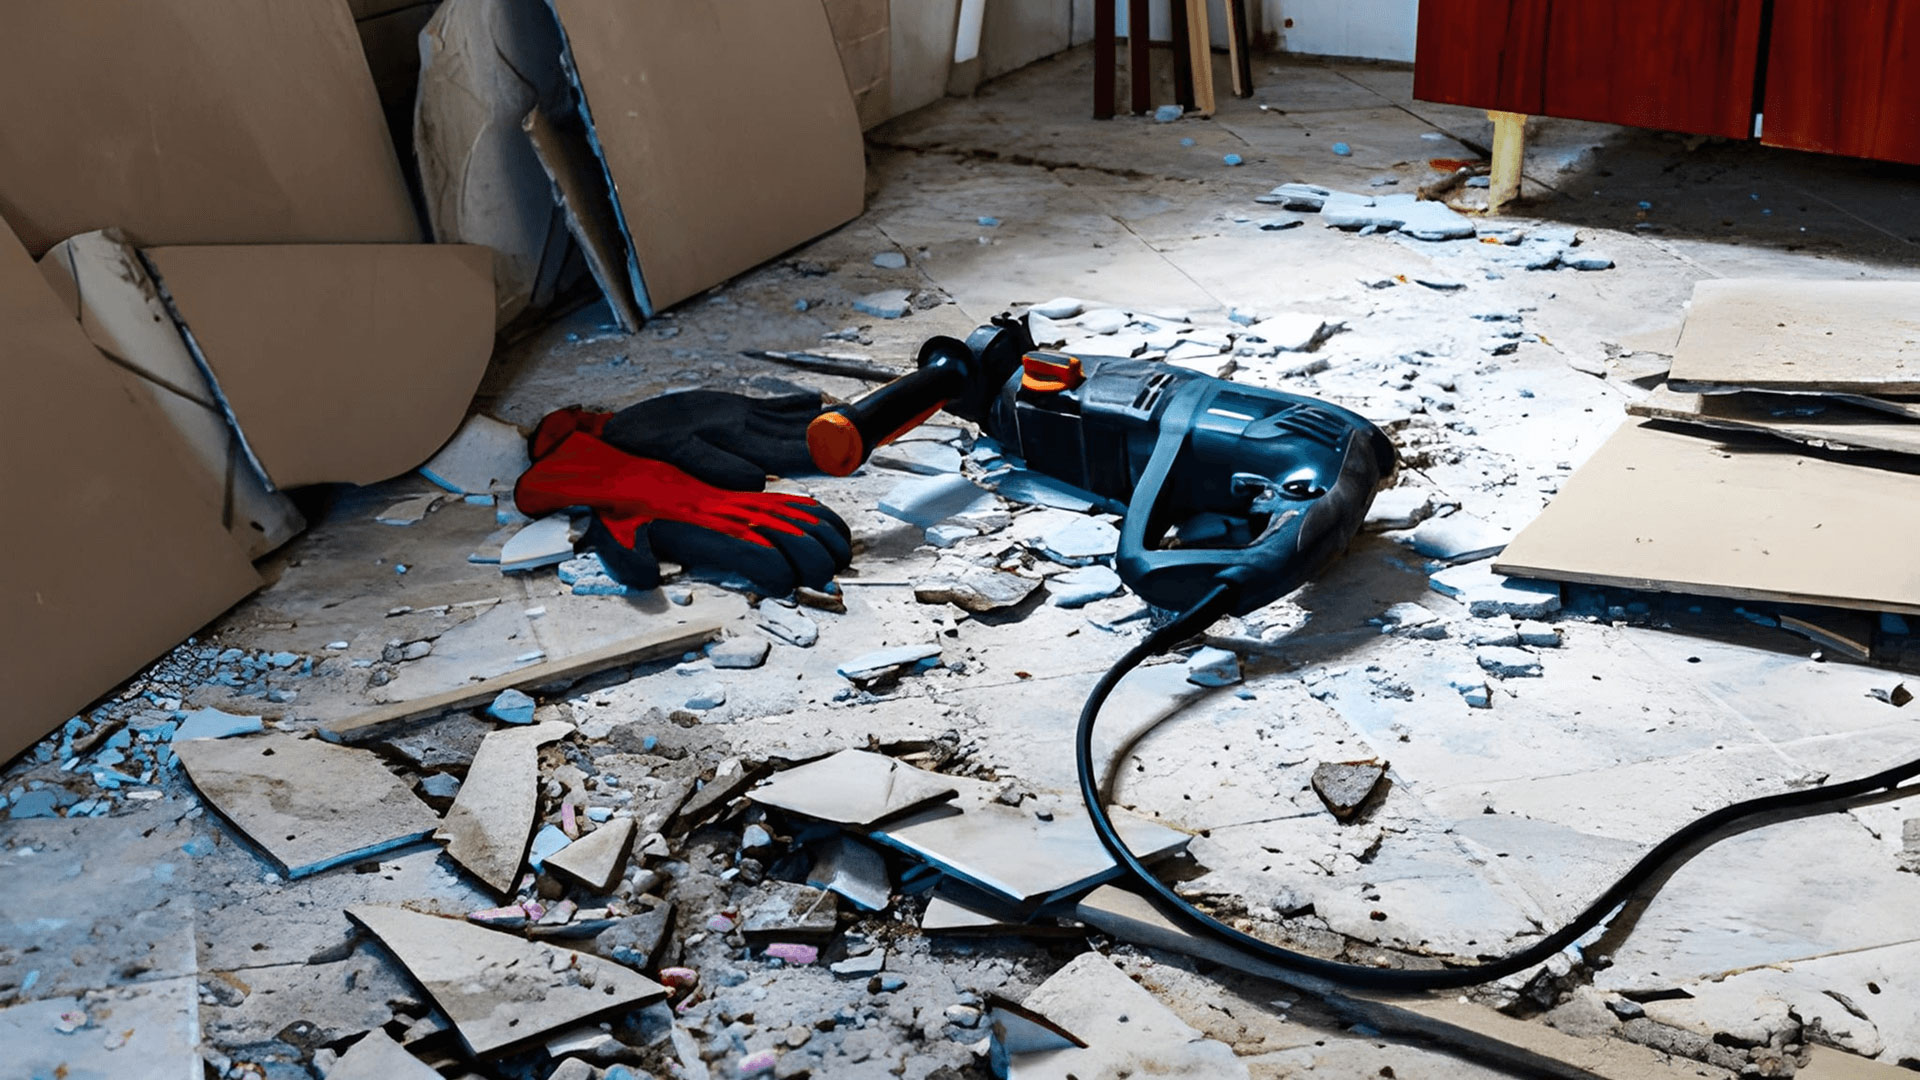
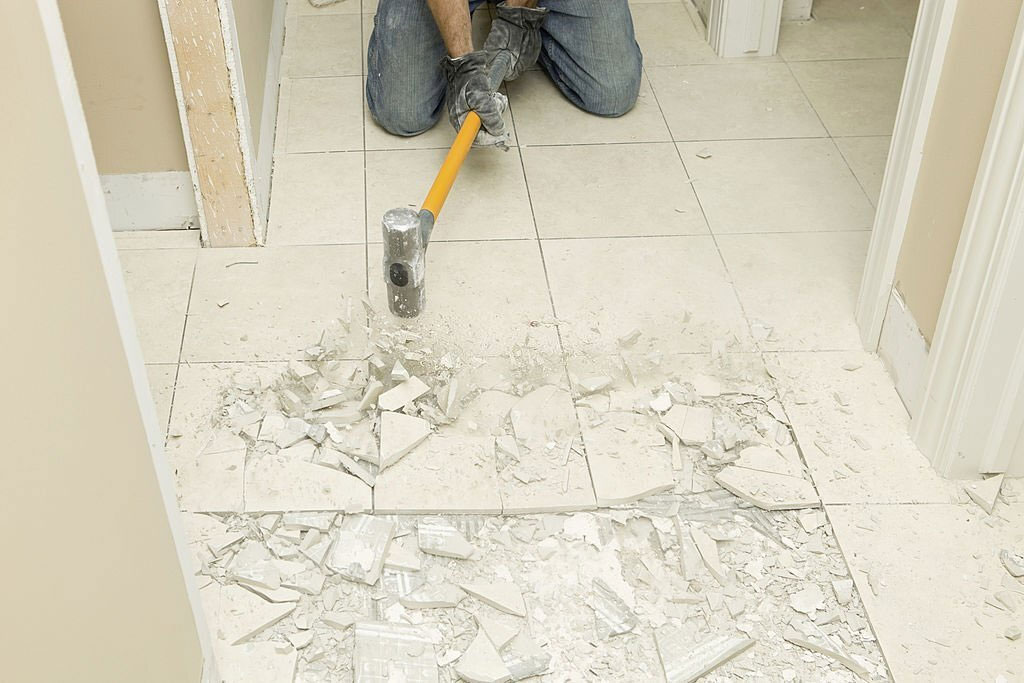
You would be creating an absurd amount of tile dust and shards. You should definitely use heavy-duty gloves, a face mask, safety goggles, and covers for furniture and appliances. You also should move all the items possible before starting to remove ceramic tiles.
If you're not careful, laminate floors and bathroom suites can get ruined by the bits and pieces of broken tiles. Make sure you cover as much of the floor area as possible before removing ceramic tiles. You might also consider putting newspaper or cardboard under the sheets to protect the ceramic tiles on the floor.
It's also smart to cover or seal any vents or drains nearby to protect them from getting clogged by all the dust being created.
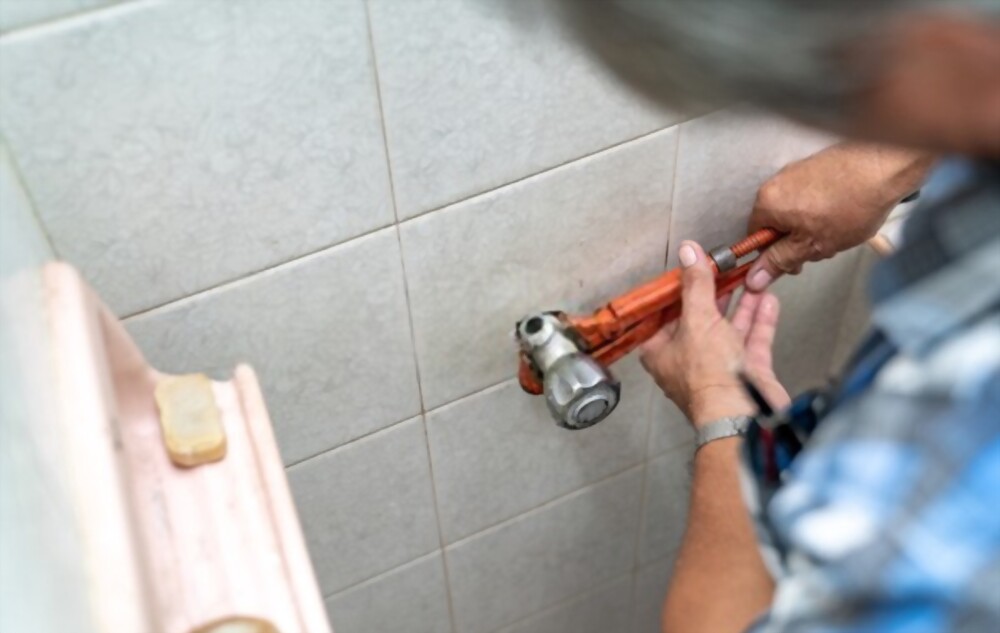
There might be obstructions in the form of fittings and fixtures getting in your way. You should get those dealt with before you begin to ensure you get the best possible access to all the tiles.
You can simply switch off electricity in the room and remove any light fittings, fans, plug sockets before getting all messy with the tiles.
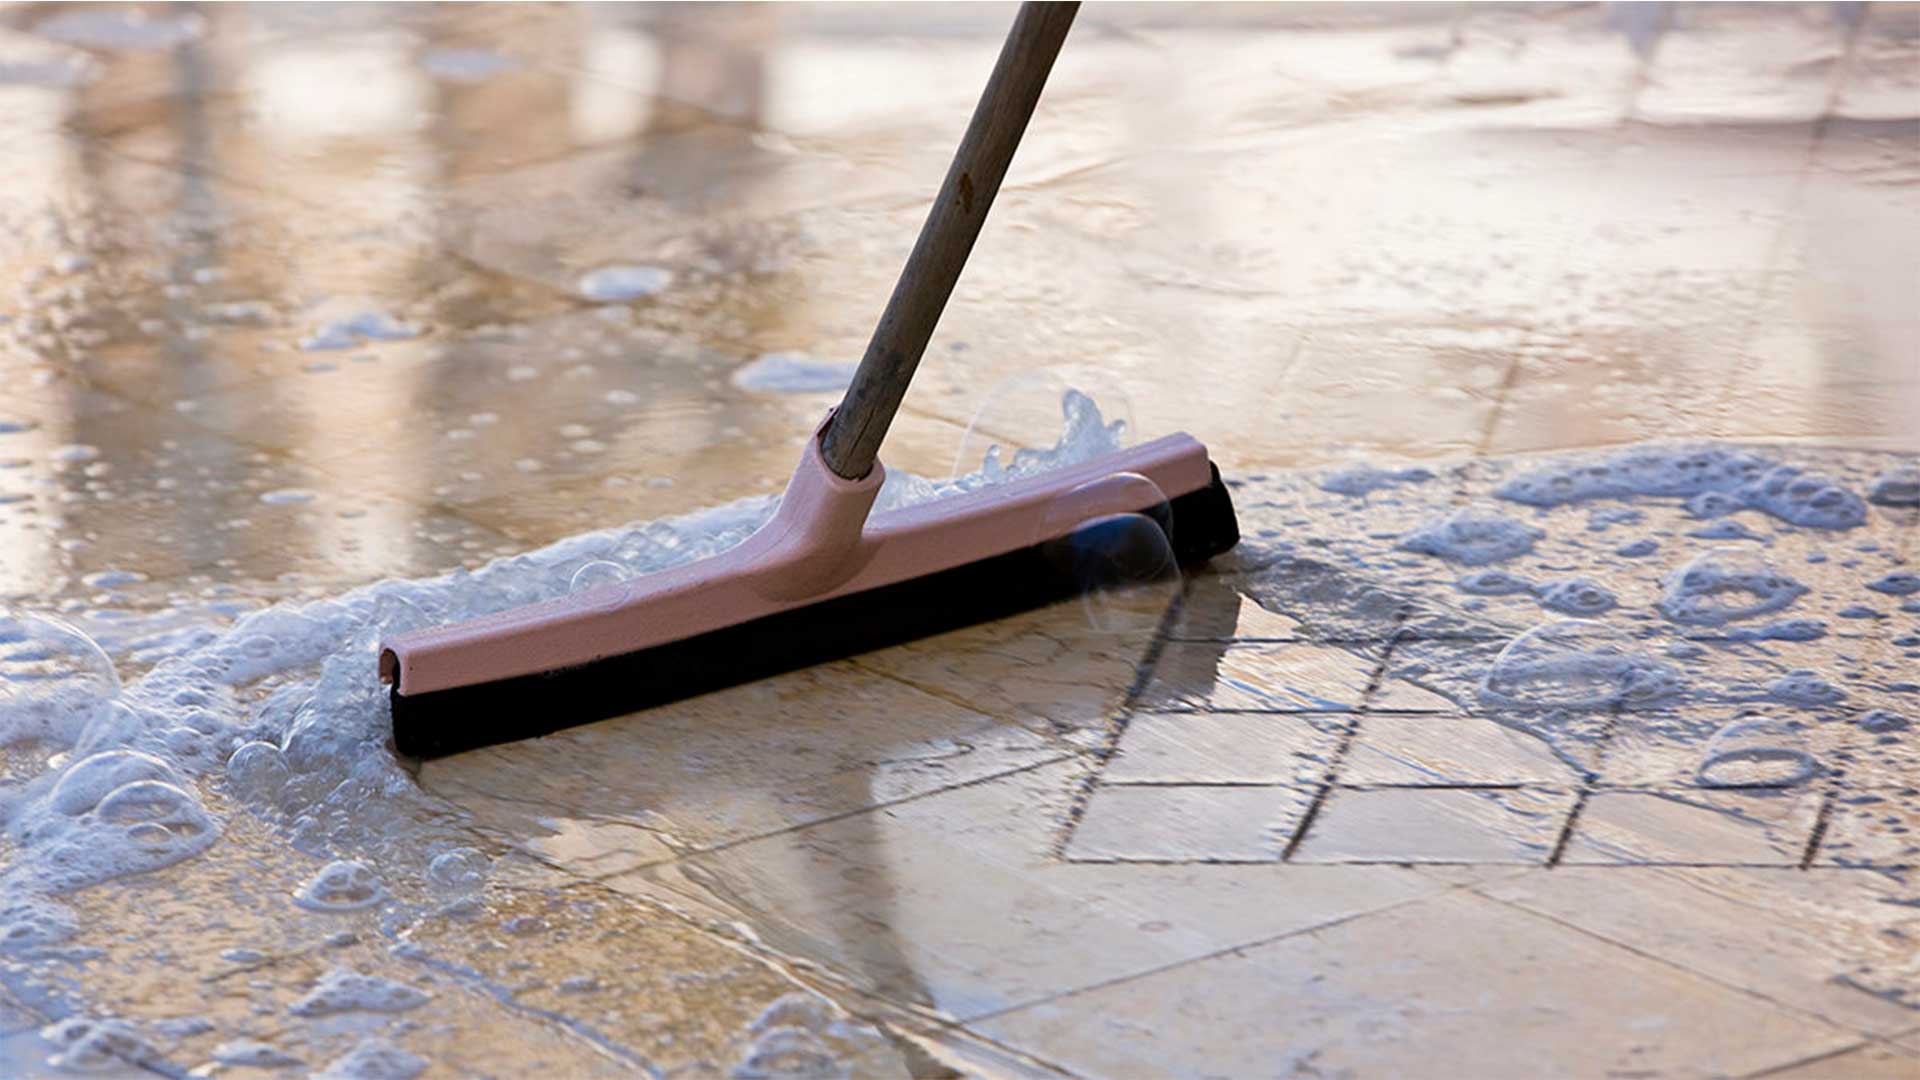
At this point of how to remove ceramic tiles, you should be scraping away at the grout between tiles to remove them completely. Removing grout from wall tiles is somewhat more difficult than that floor tiles since wall tiles are much more closely spaced.
Removing grout is a simple enough task. All you have to do is scrape them away. You can use several tools to scrape at the grout. You wouldn't be required to remove grout from the area between every tile in reality. If you're taking down an entire wall of tiles, you can simply focus your efforts on the floor, edges of the wall, and the ceiling.
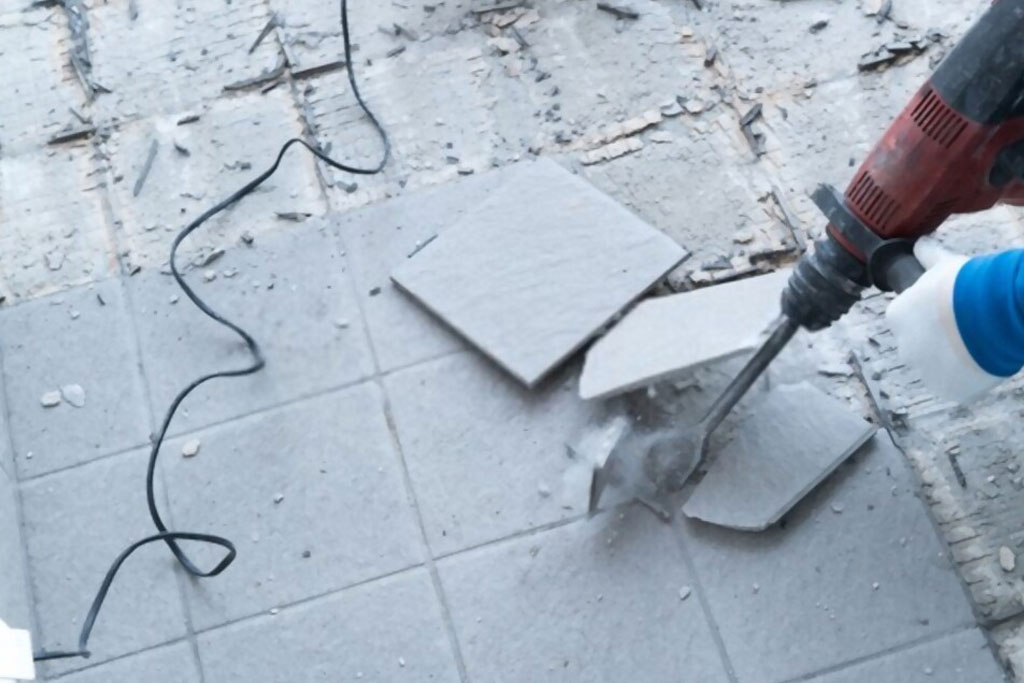
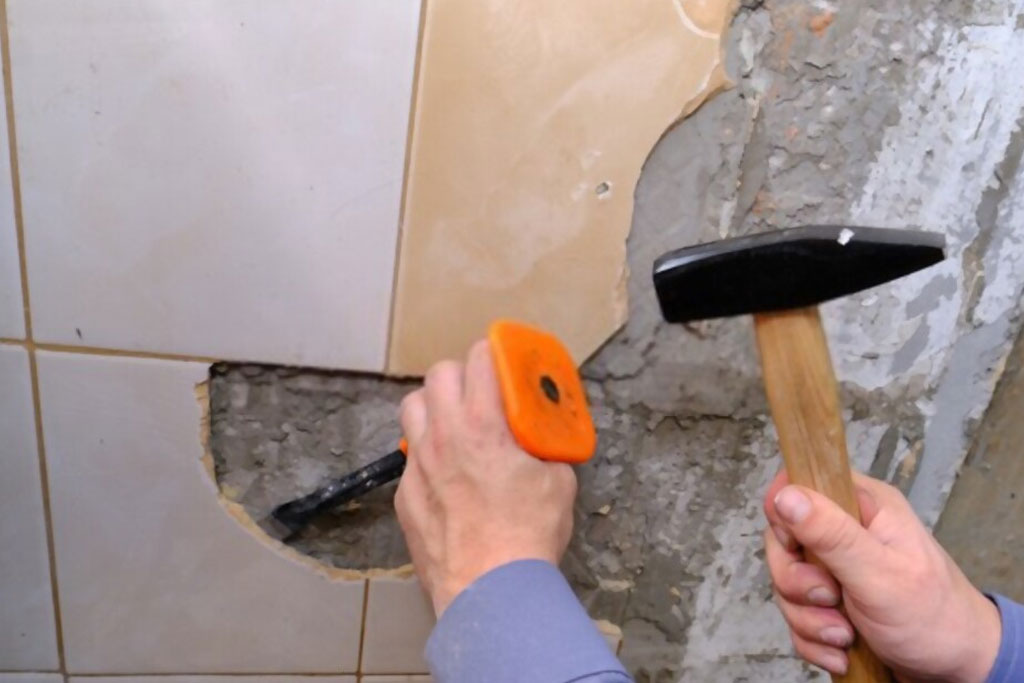
At this point, you can remove the actual ceramic tiles. You'll just need a chisel and a hammer. Oh! You'll also need to put some effort into it. To make things easier, keep tapping the tiles with the chisel handle to find a loose tile and start with that one.
Put your chisel between the wall and the tile you're trying to remove. Tap the chisel into the crack with soft but sturdy blows from the hammer. Keep the chisel at a shallow angle to avoid gouging or scraping the wall badly. Some tiles will come off in one piece, and some will start breaking into pieces. For the broken ones, you'll have to repeat this entire process for each piece. If you can't get in behind the tiles with your chisel, you might need to break them off manually.
Try to get the tiles off in one piece. That way, you still have old but reusable tiles. You can fashion the old tiles into a great many things. If not, you can at least sell them as scrap or give them away to someone who might have a use for them.
You'll see some hard-worn patches of adhesive along where the tiles were once you take them all down. Fortunately, getting the adhesive off is not that complicated. It's definitely easier to than removing ceramic tiles from the wall.
Use the chisel to chip off the larger chunks of adhesive and use a finer scraper for the remainder. After all that is off, start rubbing the wall with sandpaper to smoothen it to retile or redecorate.
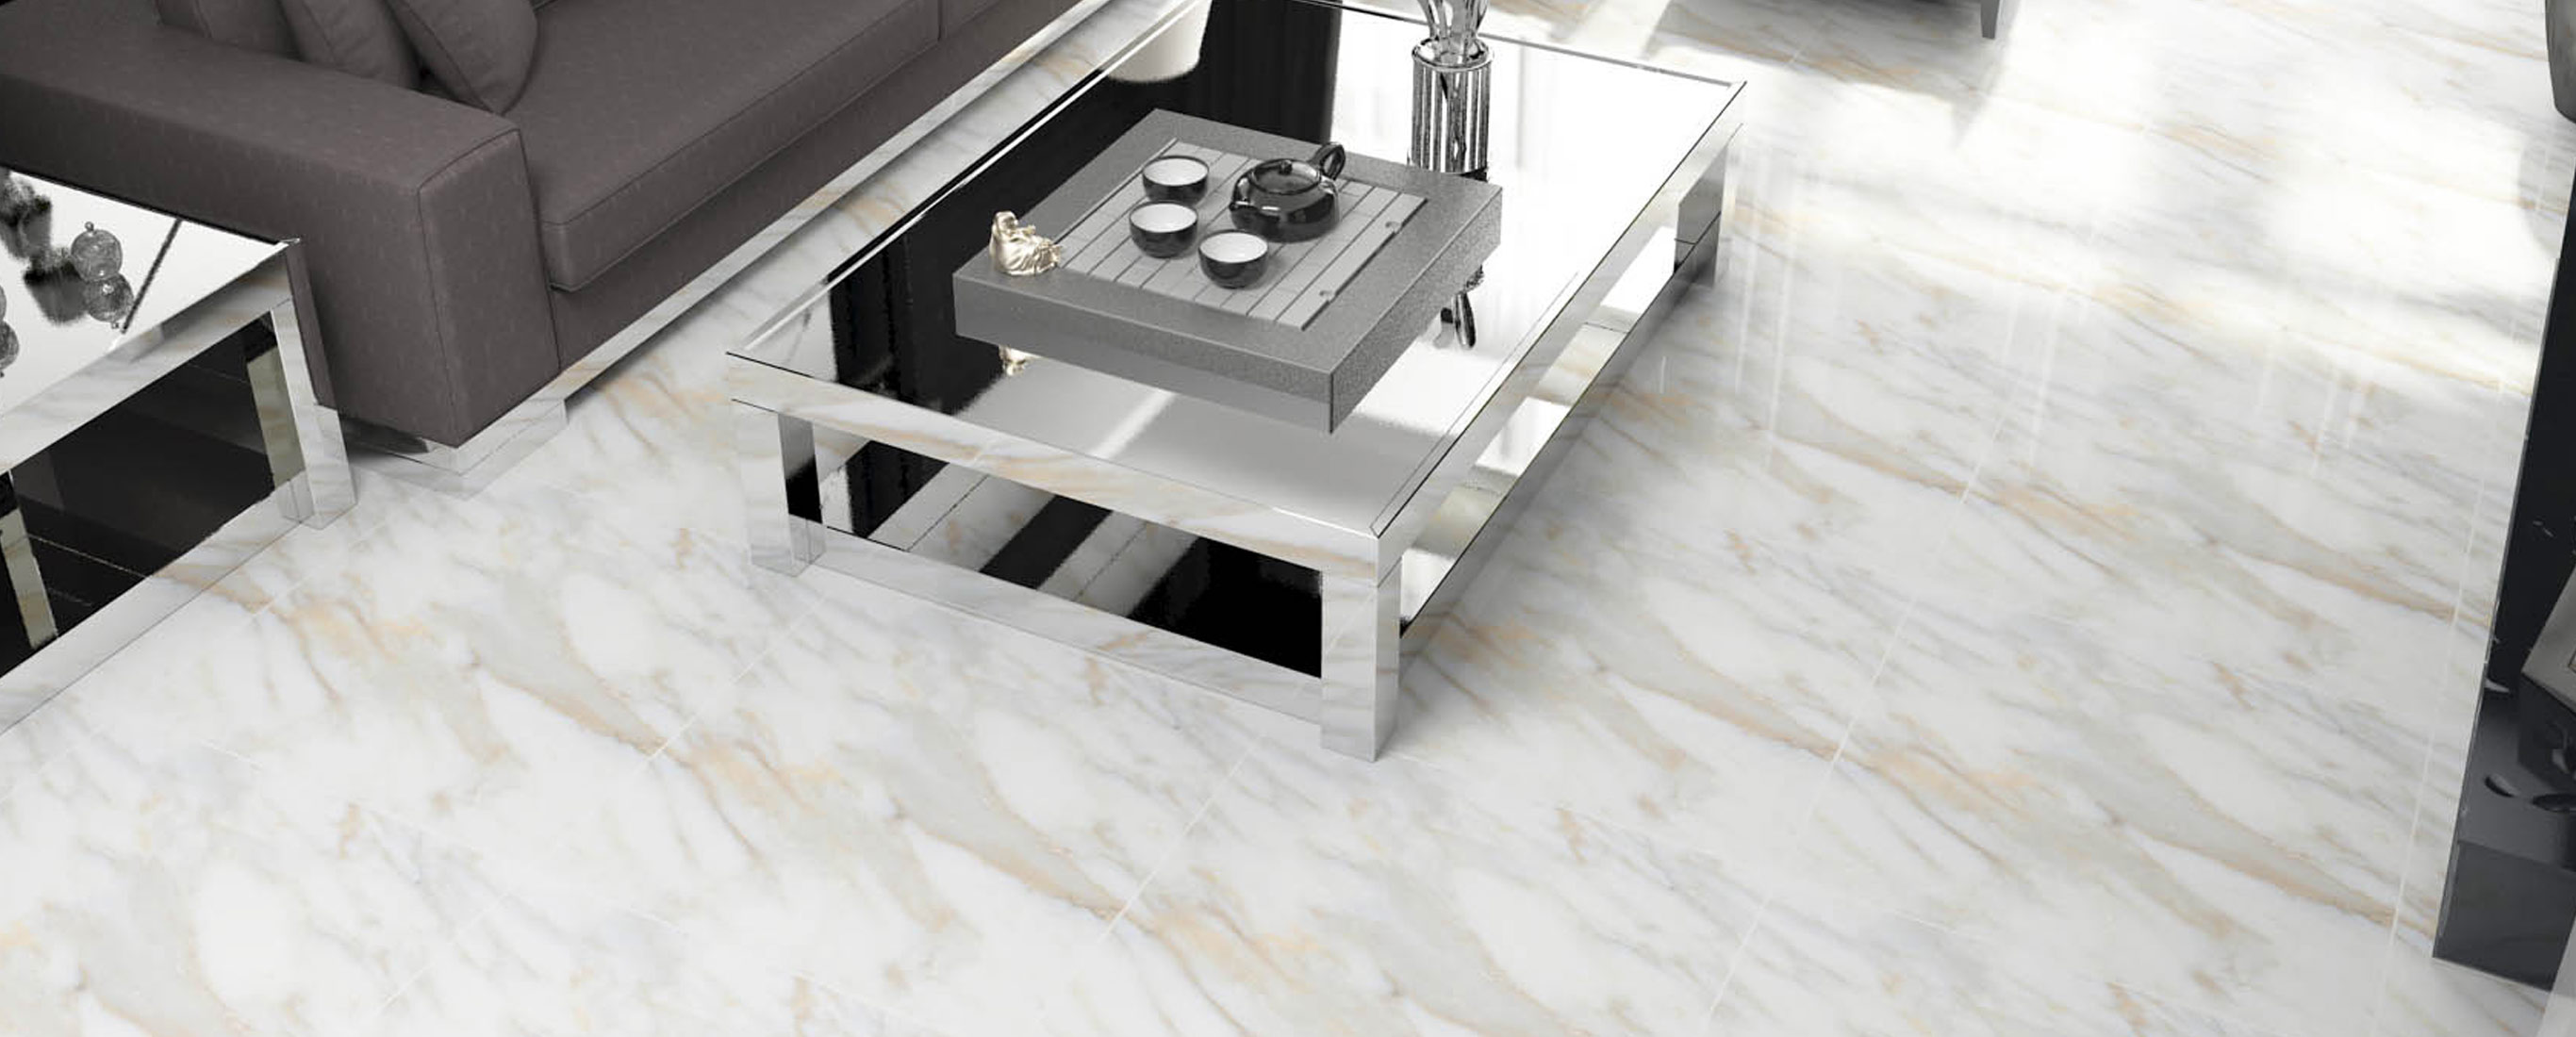
You now have a smooth wall without tiles that is ready to be remodeled, redecorated, renovated, or retiled according to your taste and preference. It might feel like a lot of work, but after seeing the final results, you should be getting a sense of satisfaction and achievement.
This entire process can be compared to creating an empty canvas out of something old, unpleasant, and unwanted, which you can now use to pour your imagination on.
That's all about of how to remover ceramic tiles form wall without significant hassels. If you don't mind getting your hands a little dirty, a little effort, and carefully following through with the process described above, you can save yourself a lot of money and get the desired tile-free wall as you prefer.
Hopefully, all this has been helpful enough for you to understand how easily you can get old tiles off of a wall to renovate, redecorate, or repurpose it.
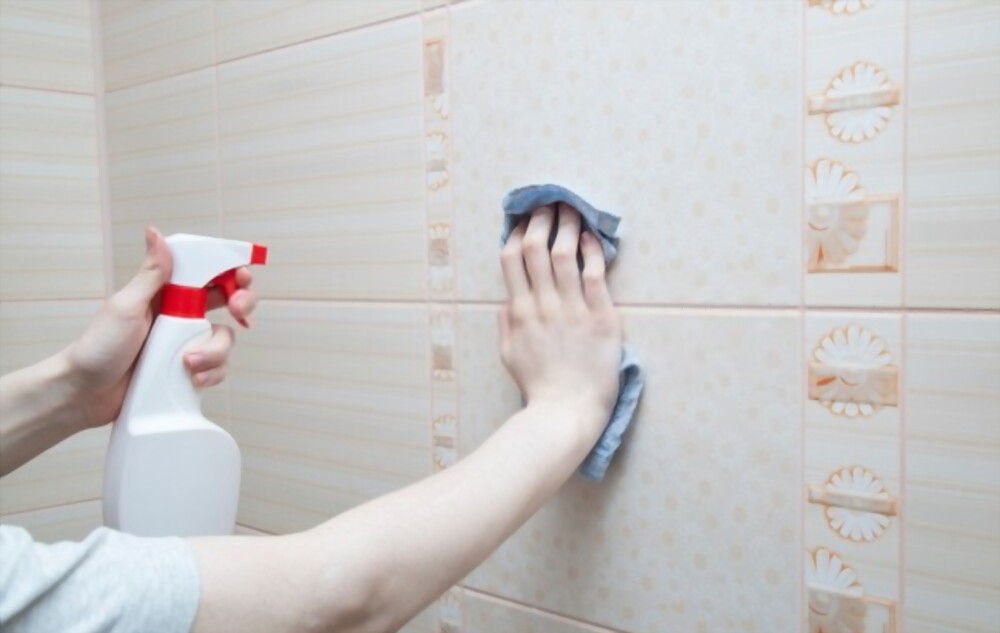
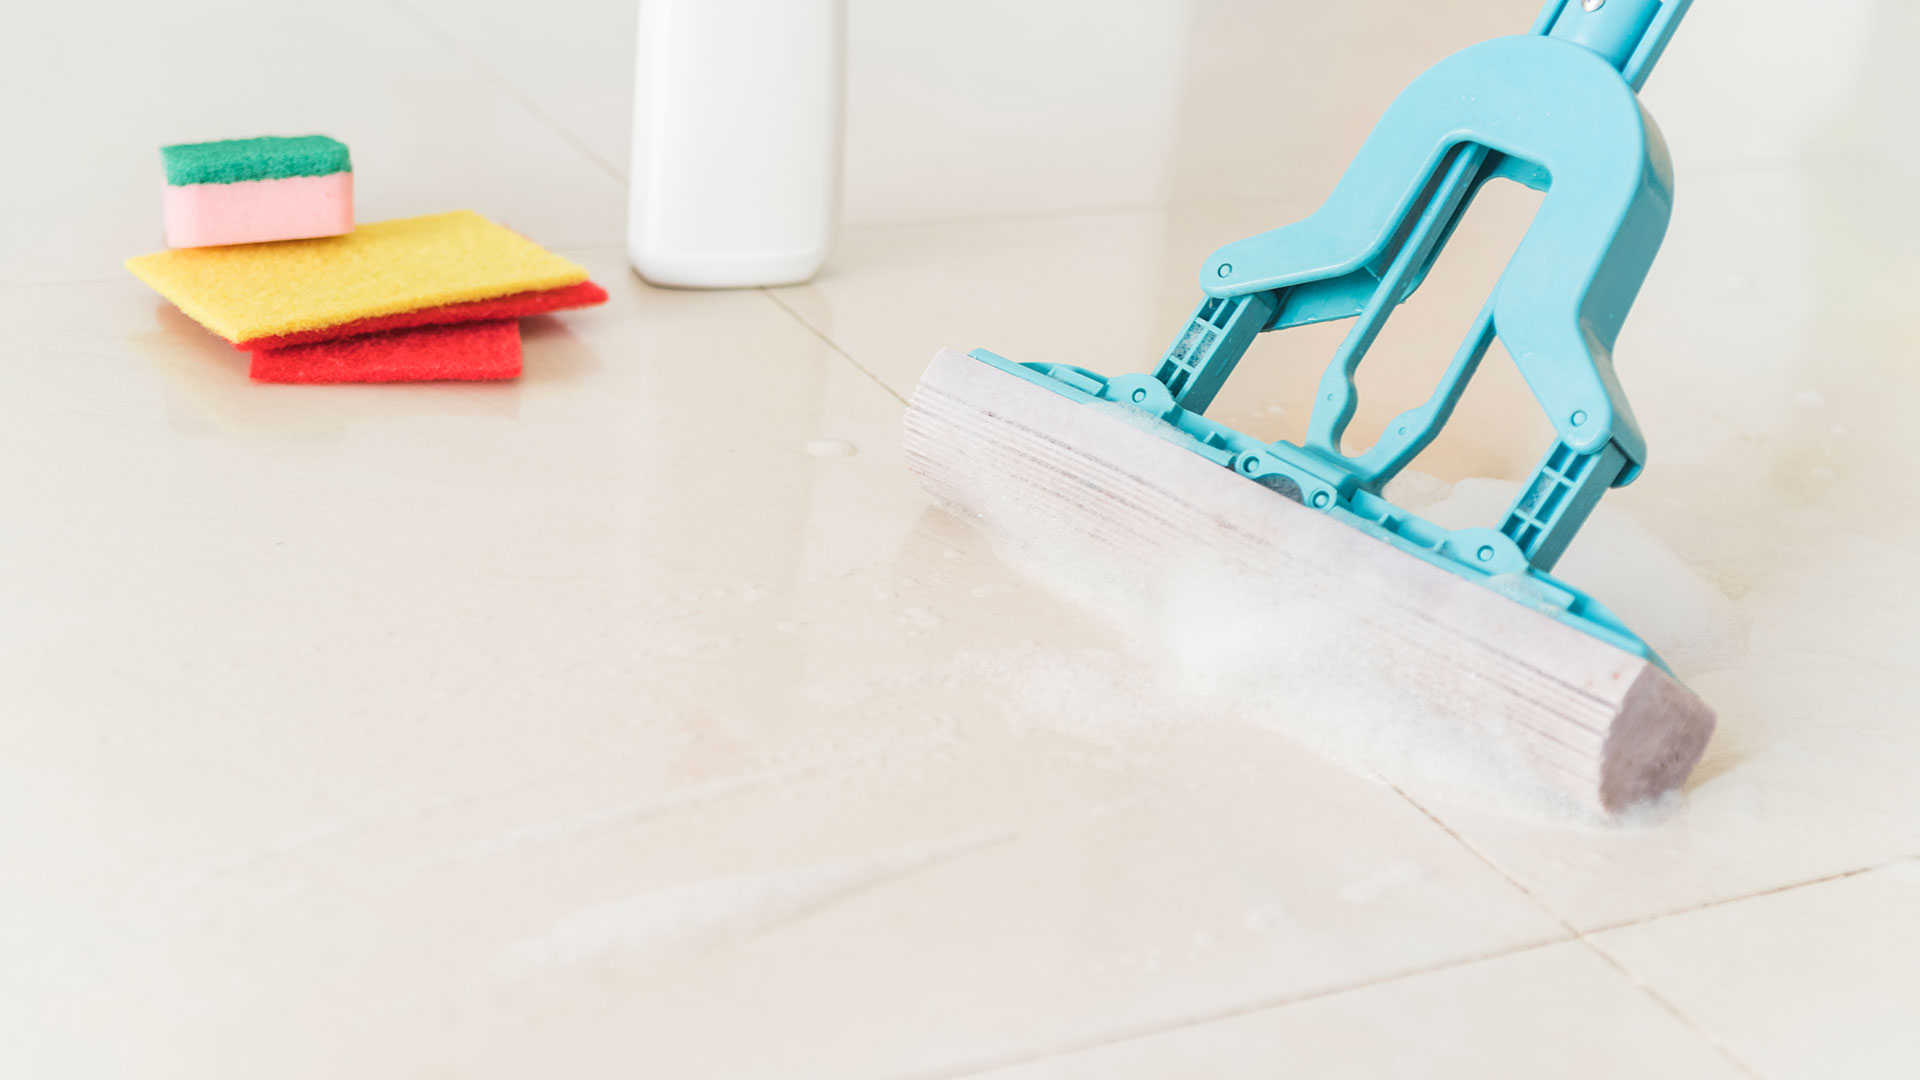
As you are going to replace the old tiles with the new ones, you should always be careful about how to clean ceramic tiles for these to last long.
Following are some common questions you might think of:
Removing wall tiles appears like a very difficult, complicated, and stressful process. However, it's quite the opposite. You can do it all by yourself with a few basic tools. Follow this article for details.
Professional tilers use heavy-duty power tools to remove tiles easily and efficiently. Since they specialize in such jobs, they are supposed to have specialized methods and equipment.
Removing tiles from concrete walls is not as difficult as it seems. You can easily remove them from concrete walls with a hammer, chisel, scraper, and sandpaper—more details in the article above.
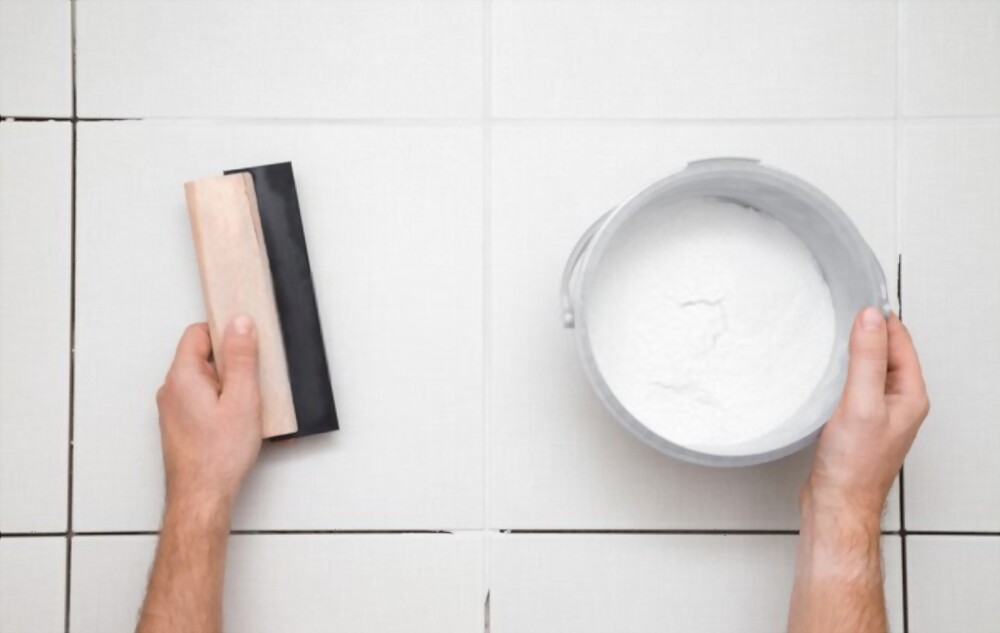
You most certainly can. However, the over-damaged drywall would require some repairing. You need to properly sand it and level out the wall with cement putty or quick-dry cement before you can start tiling the wall.
If you don't wish to retile the wall after removing the old tiles, you would need to plaster the wall since it will be uneven, rusty, and full of dust and grout. However, if you're planning to retile the wall, you would only have to level out the wall with sandpapers and some cement putty or quick-dry cement before you start redecorating it.
Don't you know how to clean ceramic tiles? You can easily clean ceramic tiles in...
Grimy bathroom tiles? Have you tried many ways but couldn’t get a satisfac...
Porcelain tile is one of the strongest and most adaptable choices as a durable f...
Are scratches visible on your ceramic tiles? Do you want to learn how to re...
Do you get bored in the kitchen even though you love cooking a lot? Doesn't it e...
After time passes, we all see water damage in the shower. Of course, you can li...
Introduction Tiles are common for walls and floors because of their long-lastin...
A home is a place of happiness, relaxation and comfort. After a long, tiring day...
When we hear the word “Tiles”, the first thing that comes to our min...
Tiles are more than floor covers. They are essential in every room, be it a bath...
If you want your house to look its best, you must know how to polish tiles, even...
Have you ever wondered why your bathroom or kitchen tiles began to look like the...
As a tile manufacturing company with years of experience and an experienced DIY ...