.png)


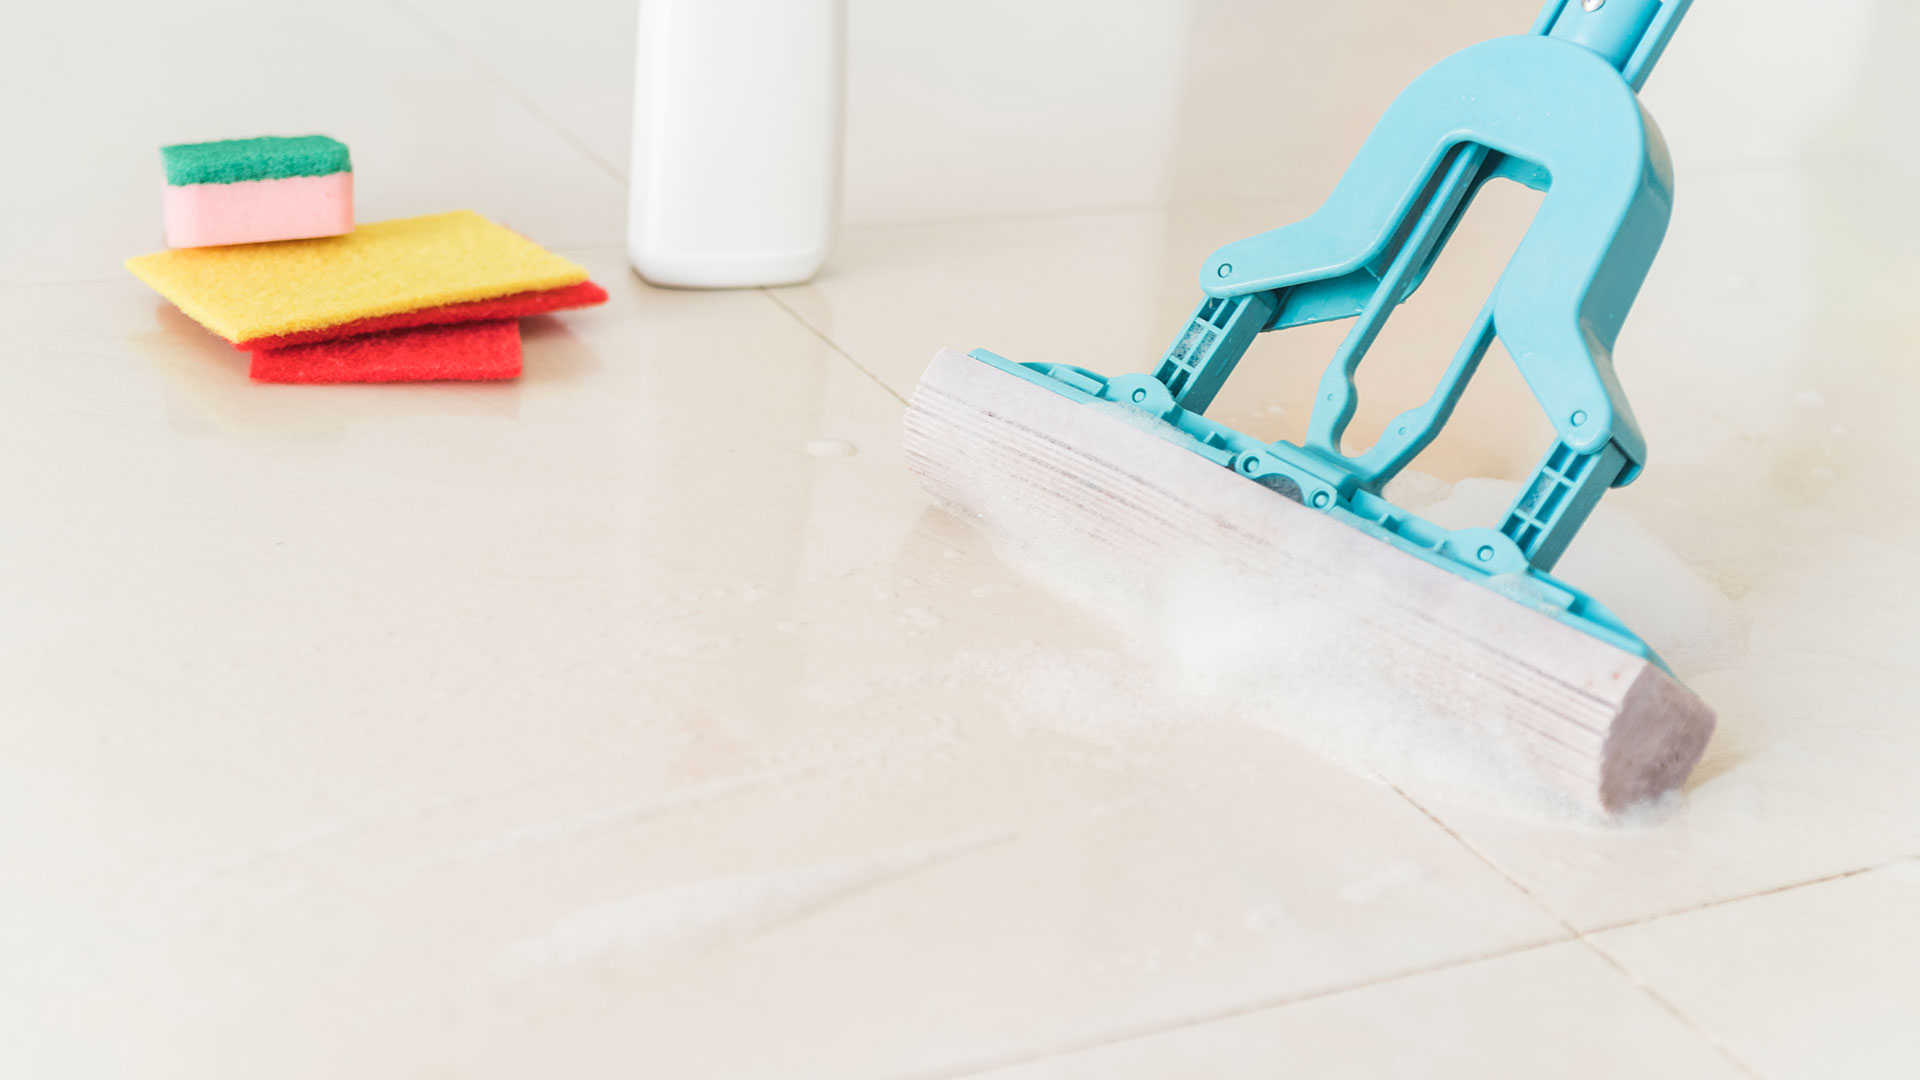
How to Clean Ceramic Tiles | Ceramic Tile Maintenance & Care
Don't you know how to clean ceramic tiles? You can easily clean ceramic tiles in...
/ 16 October 2025
As a tile manufacturing company with years of experience and an experienced DIY flooring solution provider, we DBL Ceramics have seen many frustrated home owners who are dealing with outdated and/or cracked/ chipped floor tiles. Whether you are renovating for a fresh new installation or replacing worn-out floors, removing ceramic tile can save you time and money in the pursuit of changing your floor plan.
In this ultimate guide, we'll share a step-by-step process to help DIYers like you remove tiles without damaging the floors. We will share from our own renovations (most recently a kitchen reno where we eliminated 100 square feet of ceramic tile without crushing the subfloor) with practical tips you can use so that your projects are successful.
This guide helps not only to a smooth project but also to every best practice for avoiding common mistakes and finally, professional-level results.
Before initiating the process of floor tiles removal, thorough preparation is essential to mitigate risks and ensure efficiency. In our experience, skipping this phase often leads to unnecessary complications, such as unexpected hazards or prolonged cleanup.
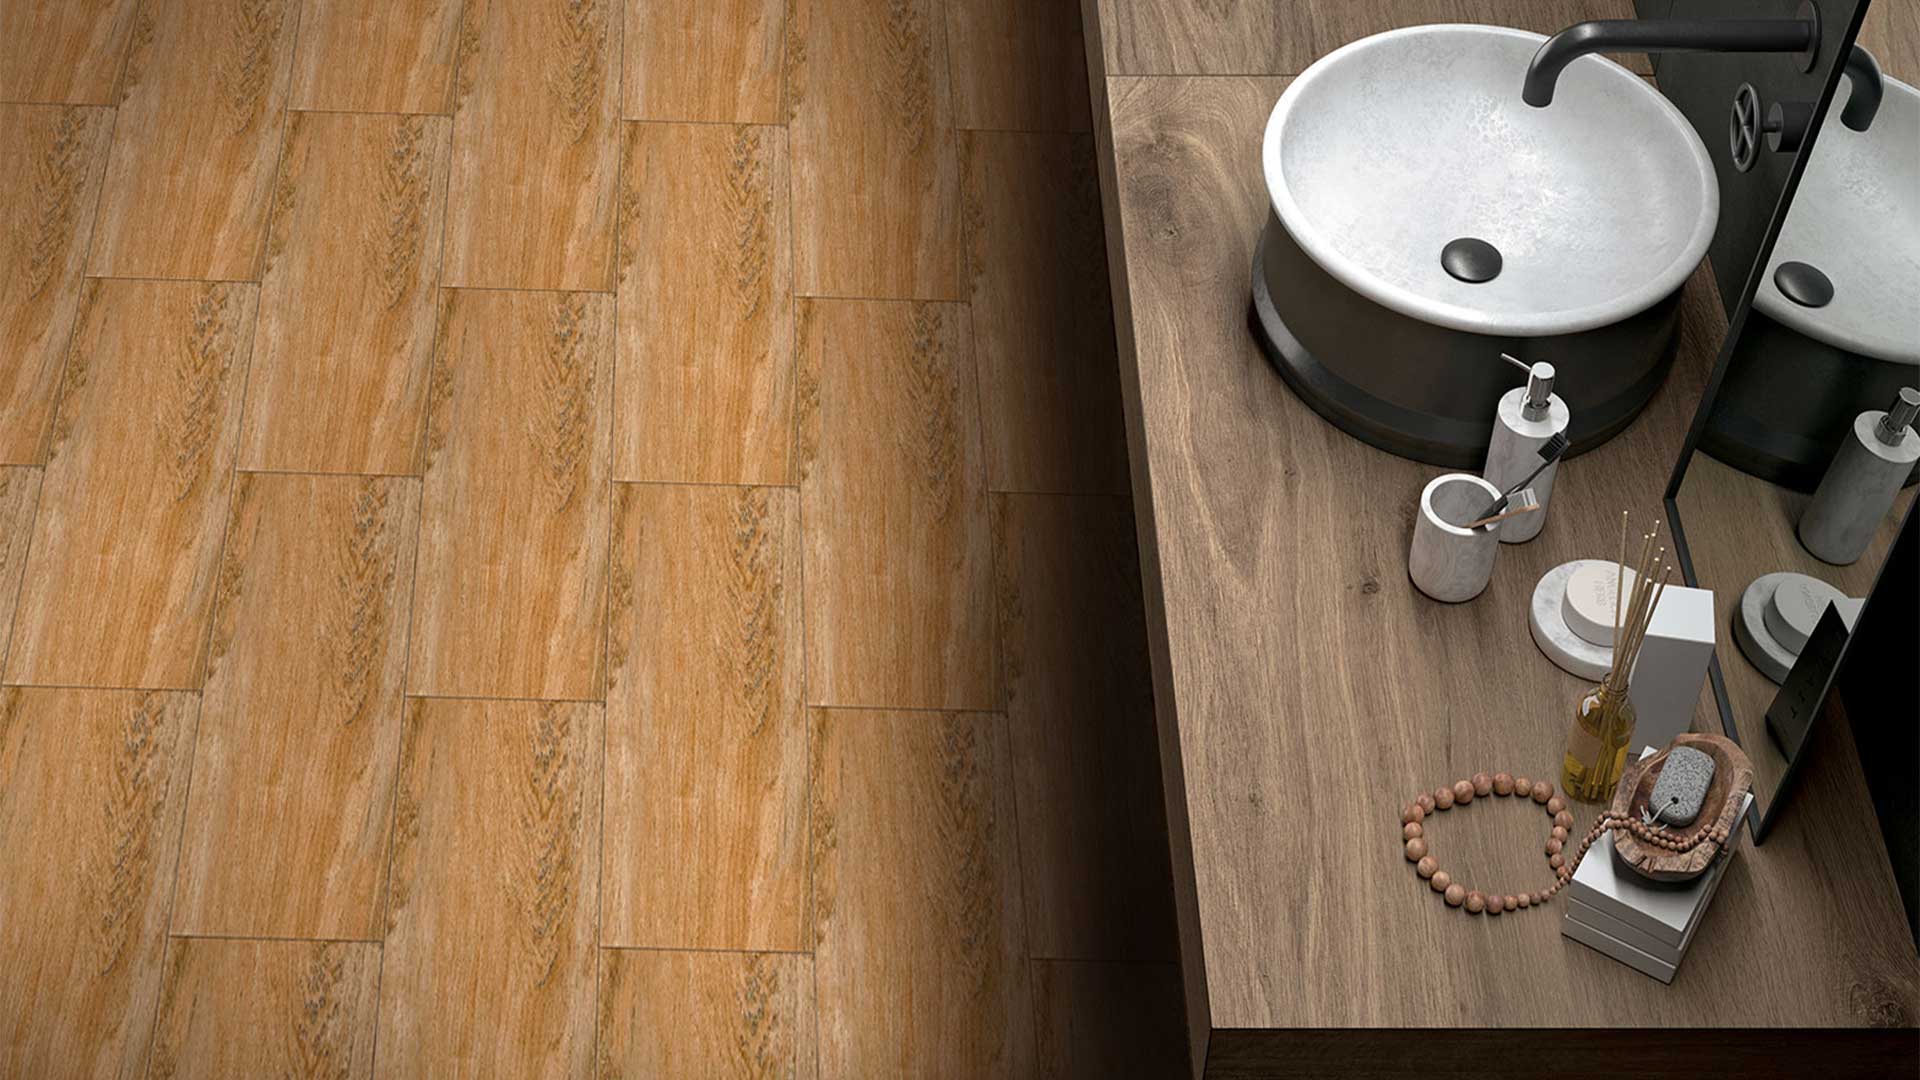
First, consider what type of flooring you have. Consider the type of tile (common tile types include porcelain, ceramic, stone, or vinyl), as various tiles have different production processes. For example, ceramic and porcelain tiles are usually glued with mortar on a concrete base, where vinyls would be glued with an adhesive on wood. Examine the subfloor material. If you need to go through an aggressive removal method, you'll find the concrete ground more forgiving. On the other hand, wood will demand caution to prevent splintering or weakening.
As the next step, you will need to consider the room size. Small bathrooms (less than 32 square feet) can be done on your weekend. However, bathrooms with larger spaces will demand phased work to manage fatigue and debris. Look for underfloor utilities like radiant heating coils or plumbing lines that can be damaged during the repair process.
If your home was built before 1980, test for asbestos. Older tiles could contain this harmful substance. Inhaling asbestos fibers can cause many health issues, such as respiratory diseases. So, if you think there may be a problem, get it tested by the professionals. In one of our first projects, we found asbestos in 1970s-era vinyl tiles, which made us stop work and do what was necessary to prevent any health issues.
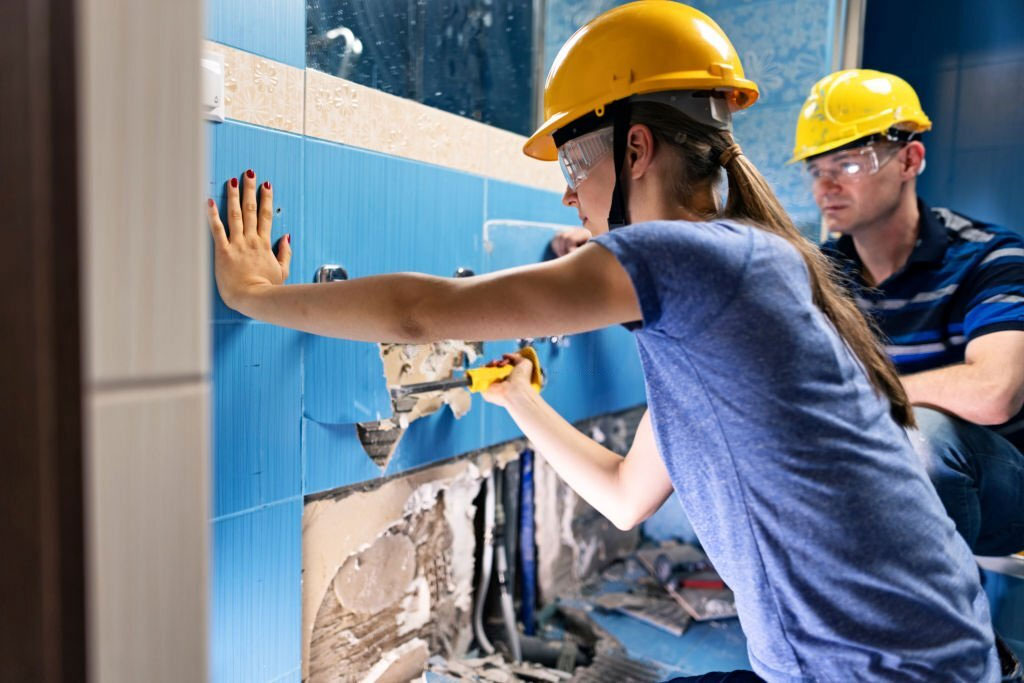
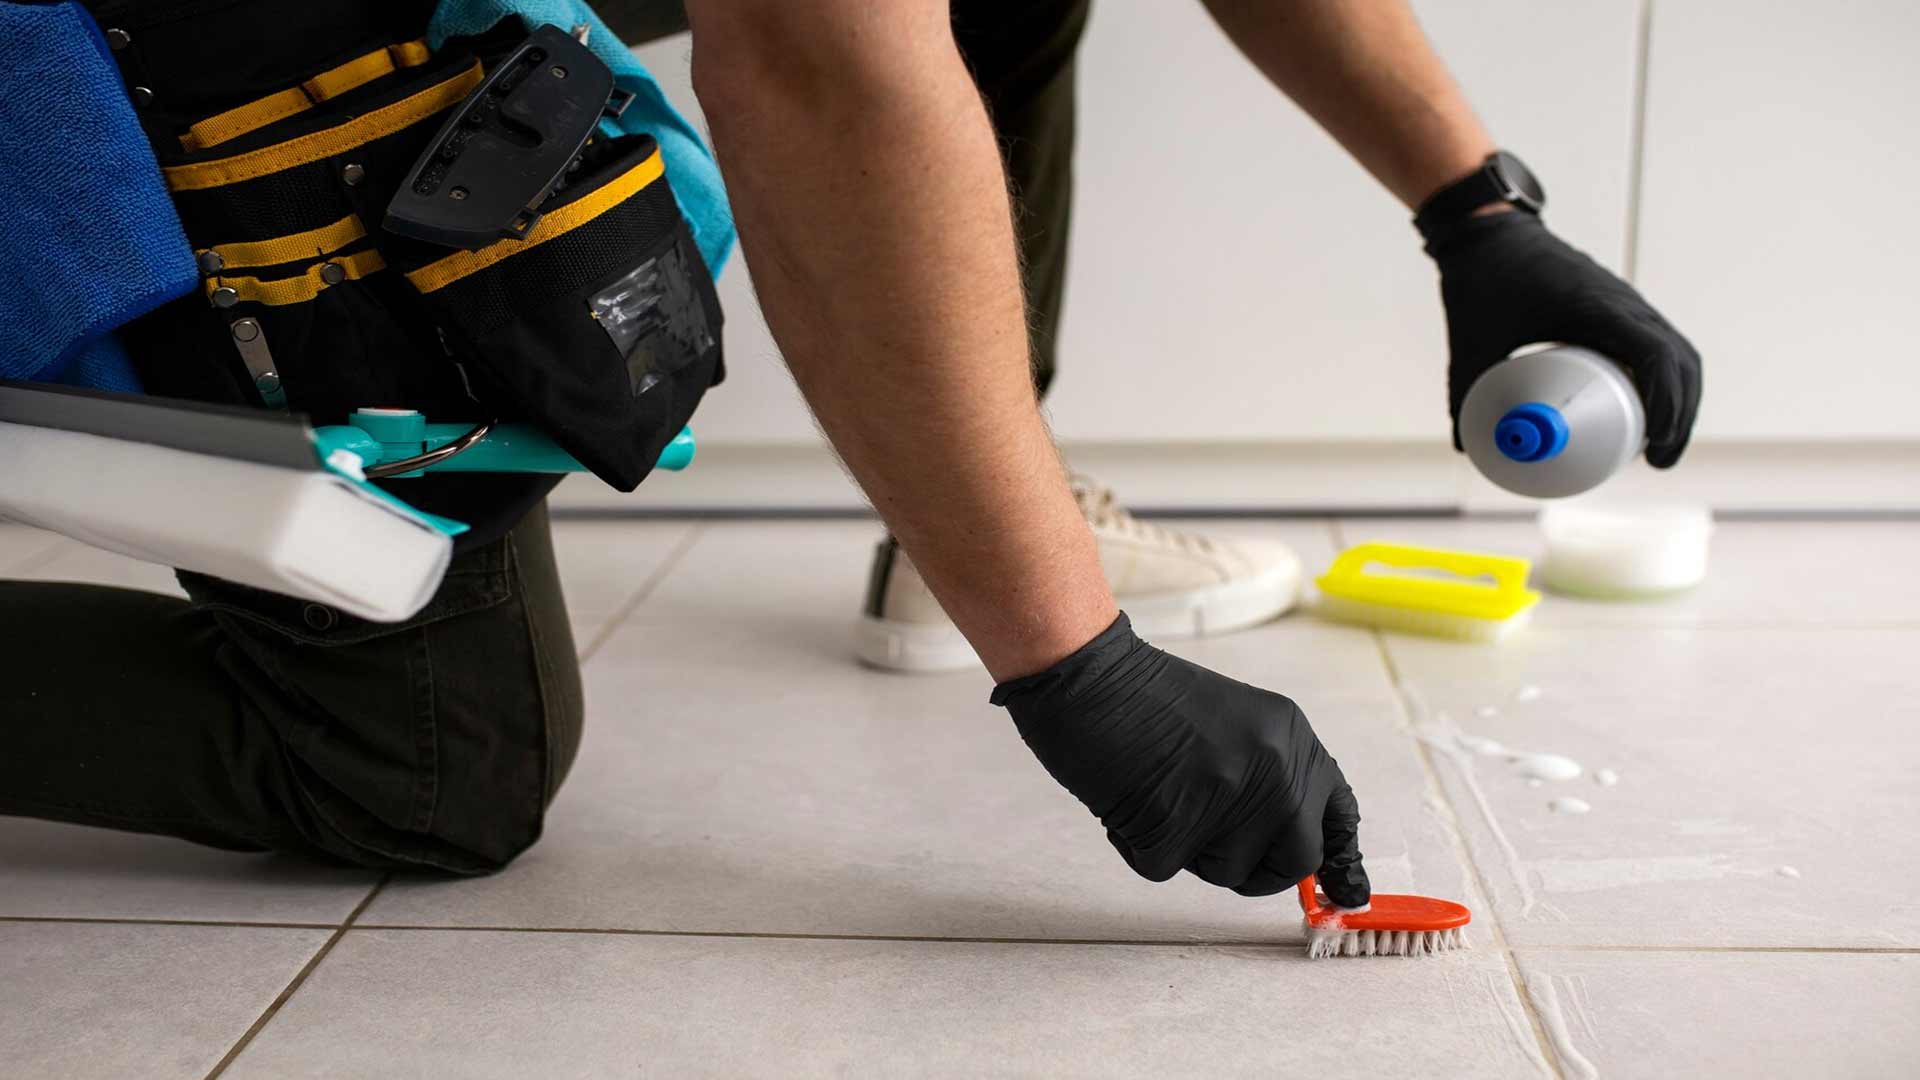
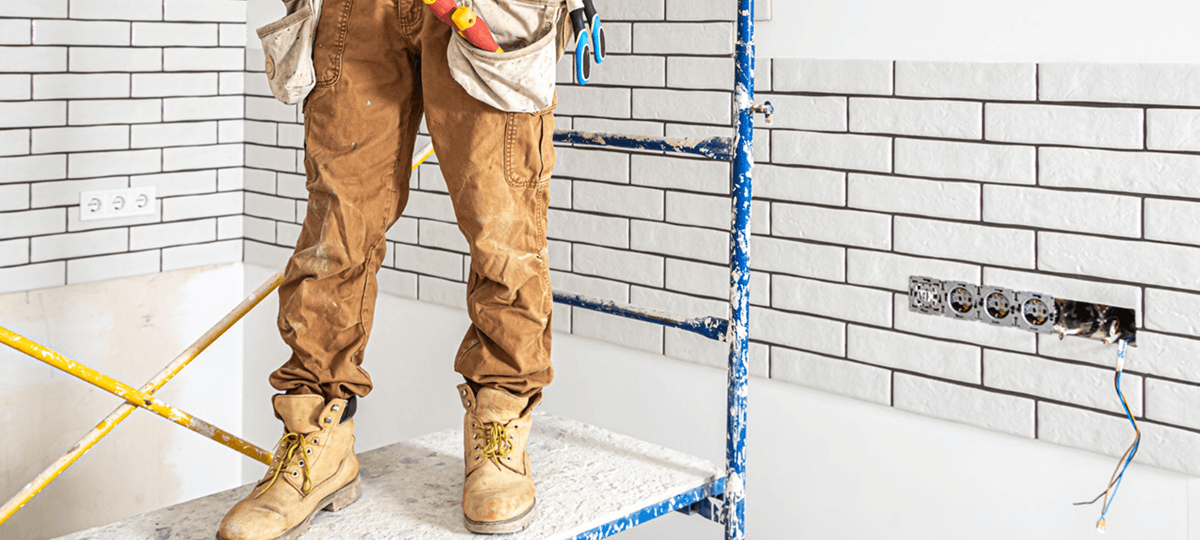
Safety is key in all DIY projects, especially during something like tile removal which can produce dust, sharp pieces and cause physical pain. Protect yourself with personal protective equipment (PPE) such as safety goggles, heavy-duty gloves, and an N95-or higher-rated dust mask to filter out airborne debris to lower the health hazards. Knee pads are another thing to consider for your comfort while removing tiles.
Seal the work site by hanging plastic sheeting over doorways and taping edges to catch dust. Use a HEPA-filtered vacuum for ongoing cleanup rather than a standard broom, which could kick up particles. Shut off the HVAC system and close vents so that contaminated air does not distribute throughout the house. But allow natural airflow in your repairing area by keeping your windows open or using fans to push air out of the house.
We always give ourselves that 30 minutes up front in our projects, which has saved us from minor injuries.
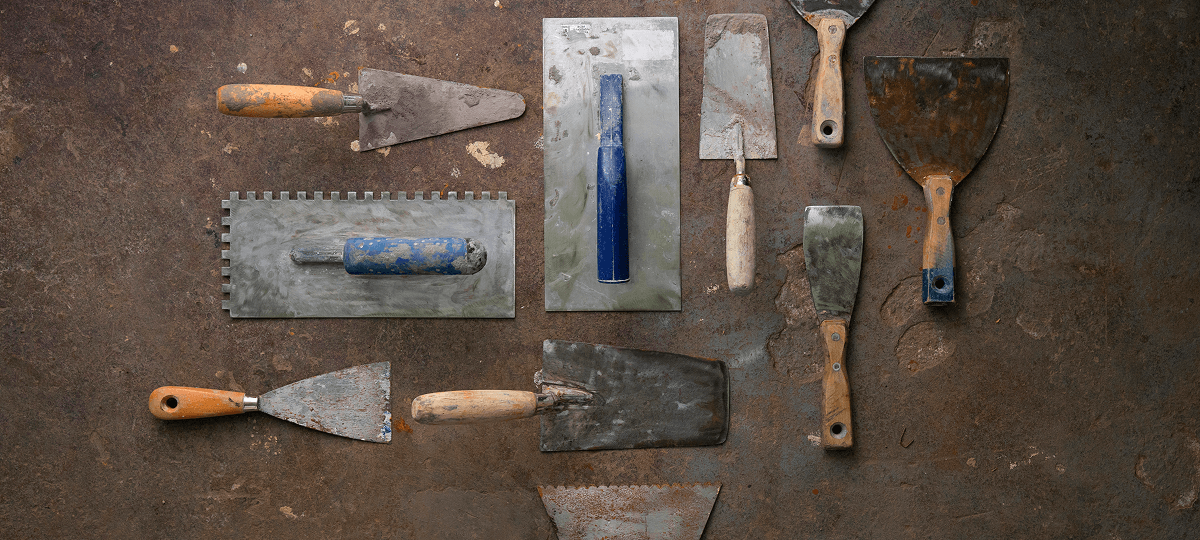
Choosing the right tools not only makes your job easier but also allows you to take on bigger jobs and tackle heavy materials. After investing in both quality and cost-saving solutions (like rentals) over the years, it’s clear that you have to spend money to make money!
Tools should be in good condition to prevent accidents. For instance, blunt chisels will need more force and produce a higher risk of injury.
When you are done making the necessary preparations, proceed with the following steps to begin your tile repair process. This organized approach helped us refine our floor tile removal process by minimizing general errors.
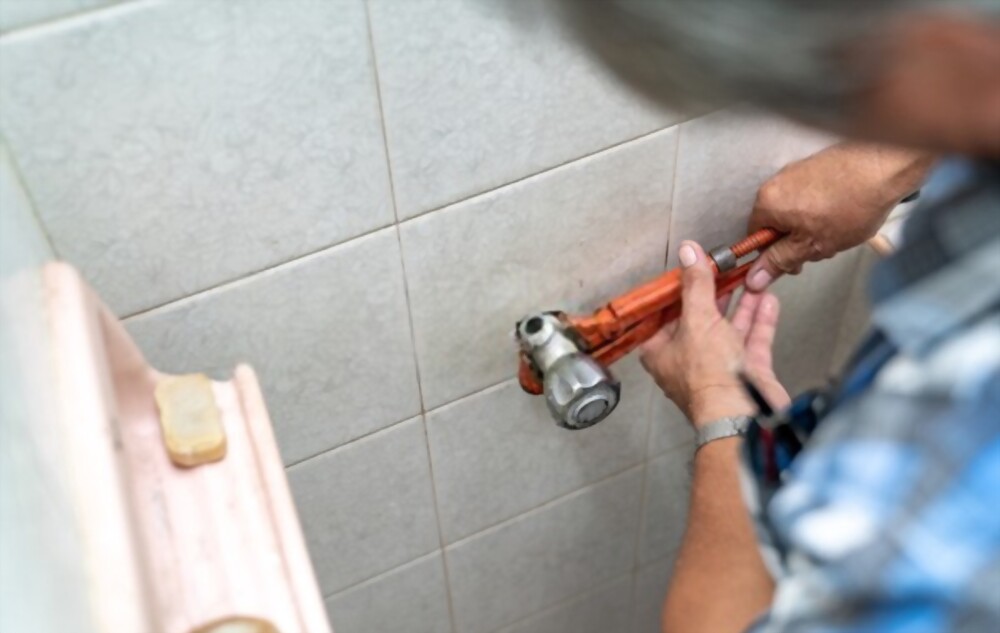
First, shut off the electricity and water supplies for the room where you need to remove floor tiles. It ensures you are safe from electric shocks or leaks while removing tiles. If the area is your bathroom or kitchen, use adjustable wrenches to disconnect fixtures. Now, using your pry bar, open the baseboard starting from one end. To ensure a clean removal, use your utility knife. The whole process can take around 45 minutes for small rooms.
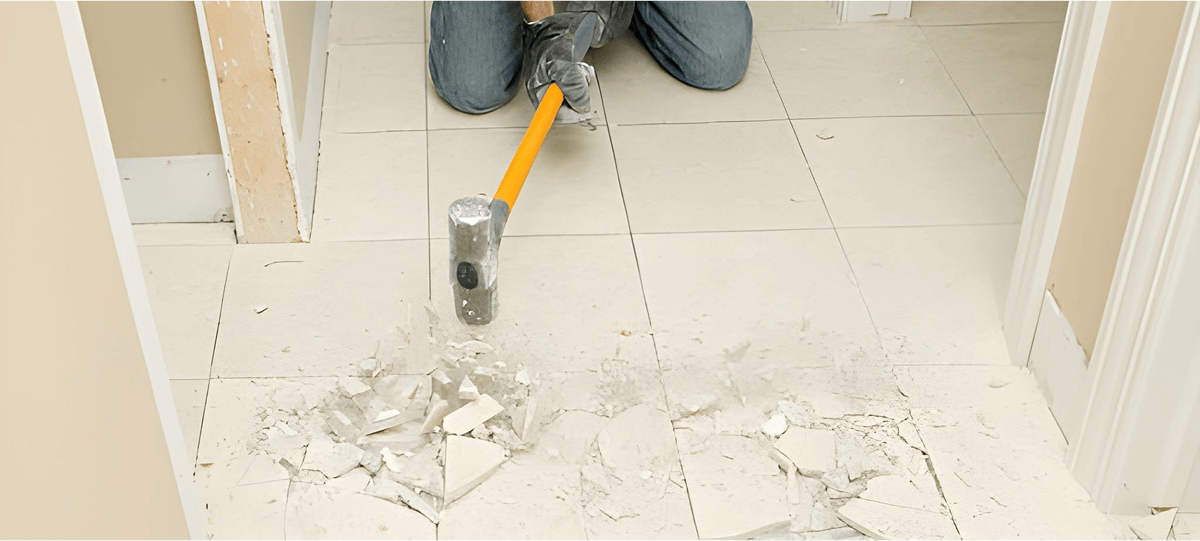
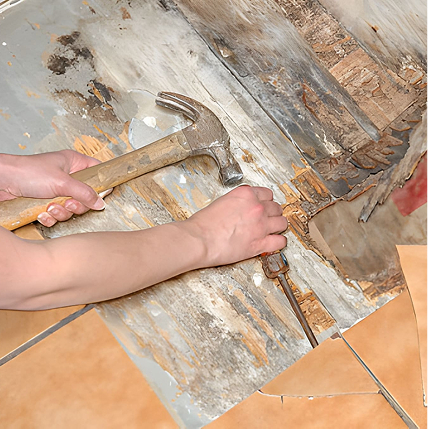
Try to figure out the loose sections on your floor. Gently tap your hammer on the floor (especially near doorways or edges) and listen to the sound carefully. If you find any hollow sound on any particular section, that should be your first tile to break and initiate your tile removal process. If no sections are evident, target any tile and break it carefully with your hammer. Try to make sure other tiles are not broken while you’re doing it. It will help you to insert your chisel underneath other tiles later and remove them one by one.
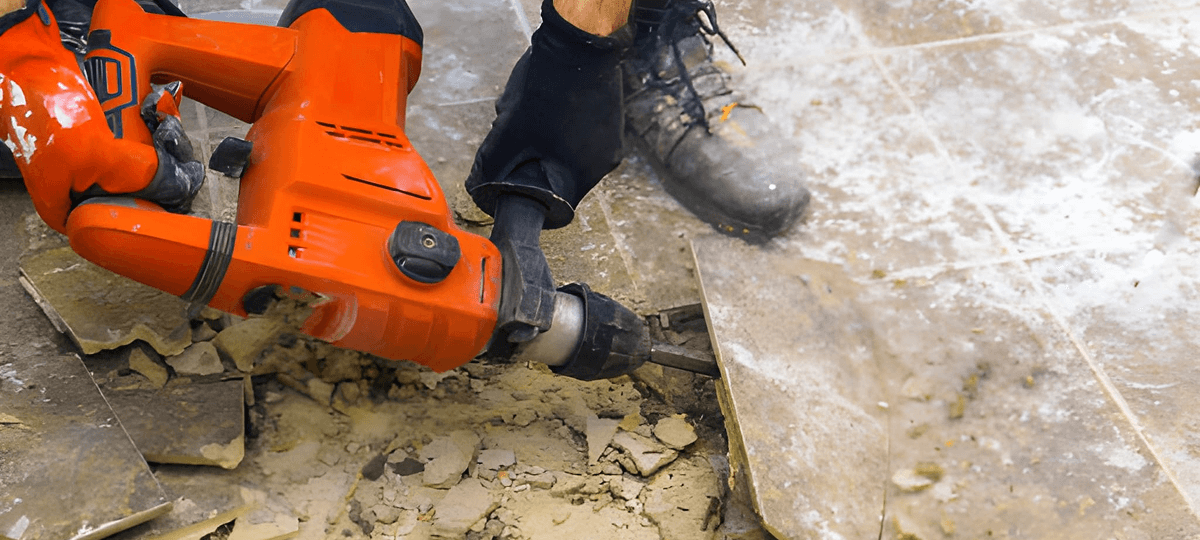
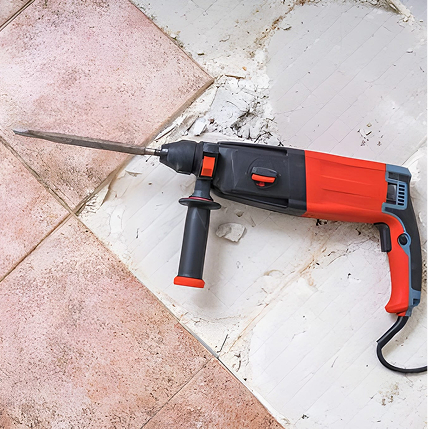
Remove the broken parts carefully. Now insert your chisel under the nearby tile at a 45-degree angle. Tap the chisel handle with your hammer gently. This will gently remove the entire tile from the floor. Repeat the same process for the other tiles, and remove all of them. You can use your SDS drill on low speed if you want enhanced convenience. This process works for most tiles available in the market. Here are some variations in methods for different tiles-
Pro tip: If you have big tiles, you might struggle to remove them with your pry bar. In that case, get a longer pry bar and insert it under the tile. It will allow you to remove the tiles conveniently.
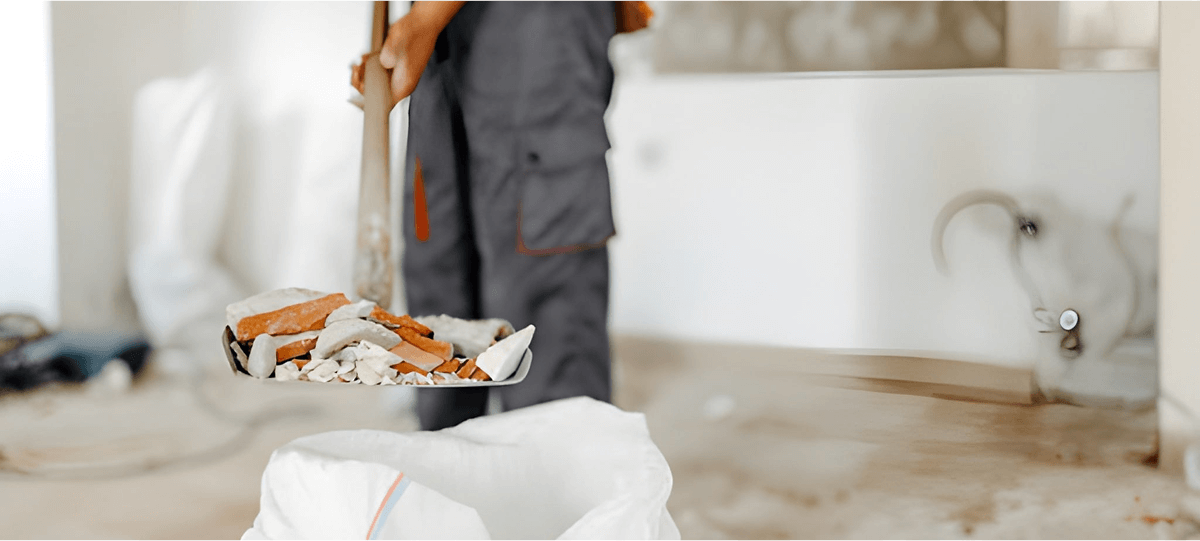
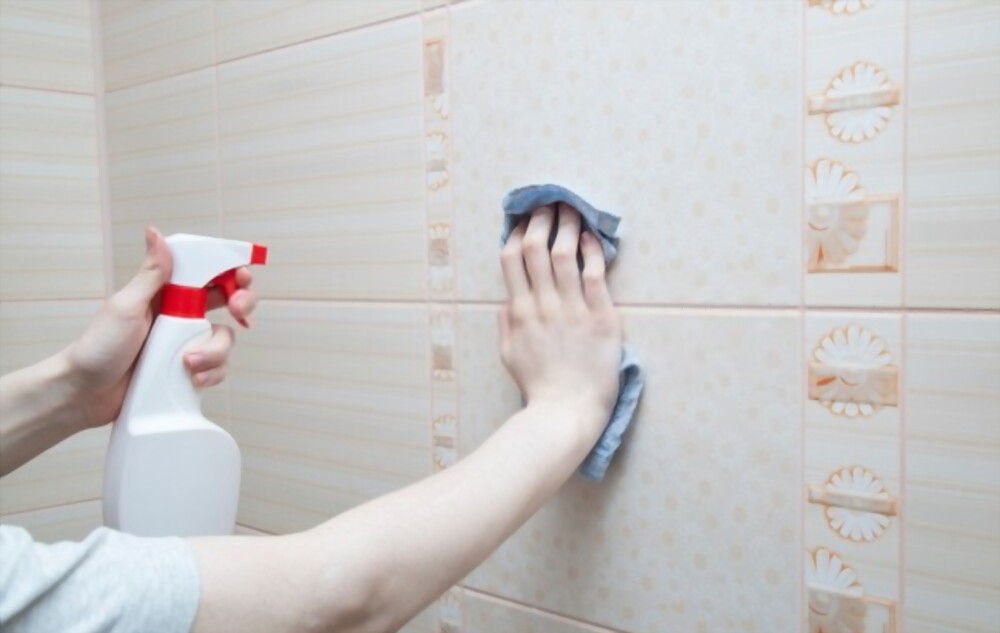
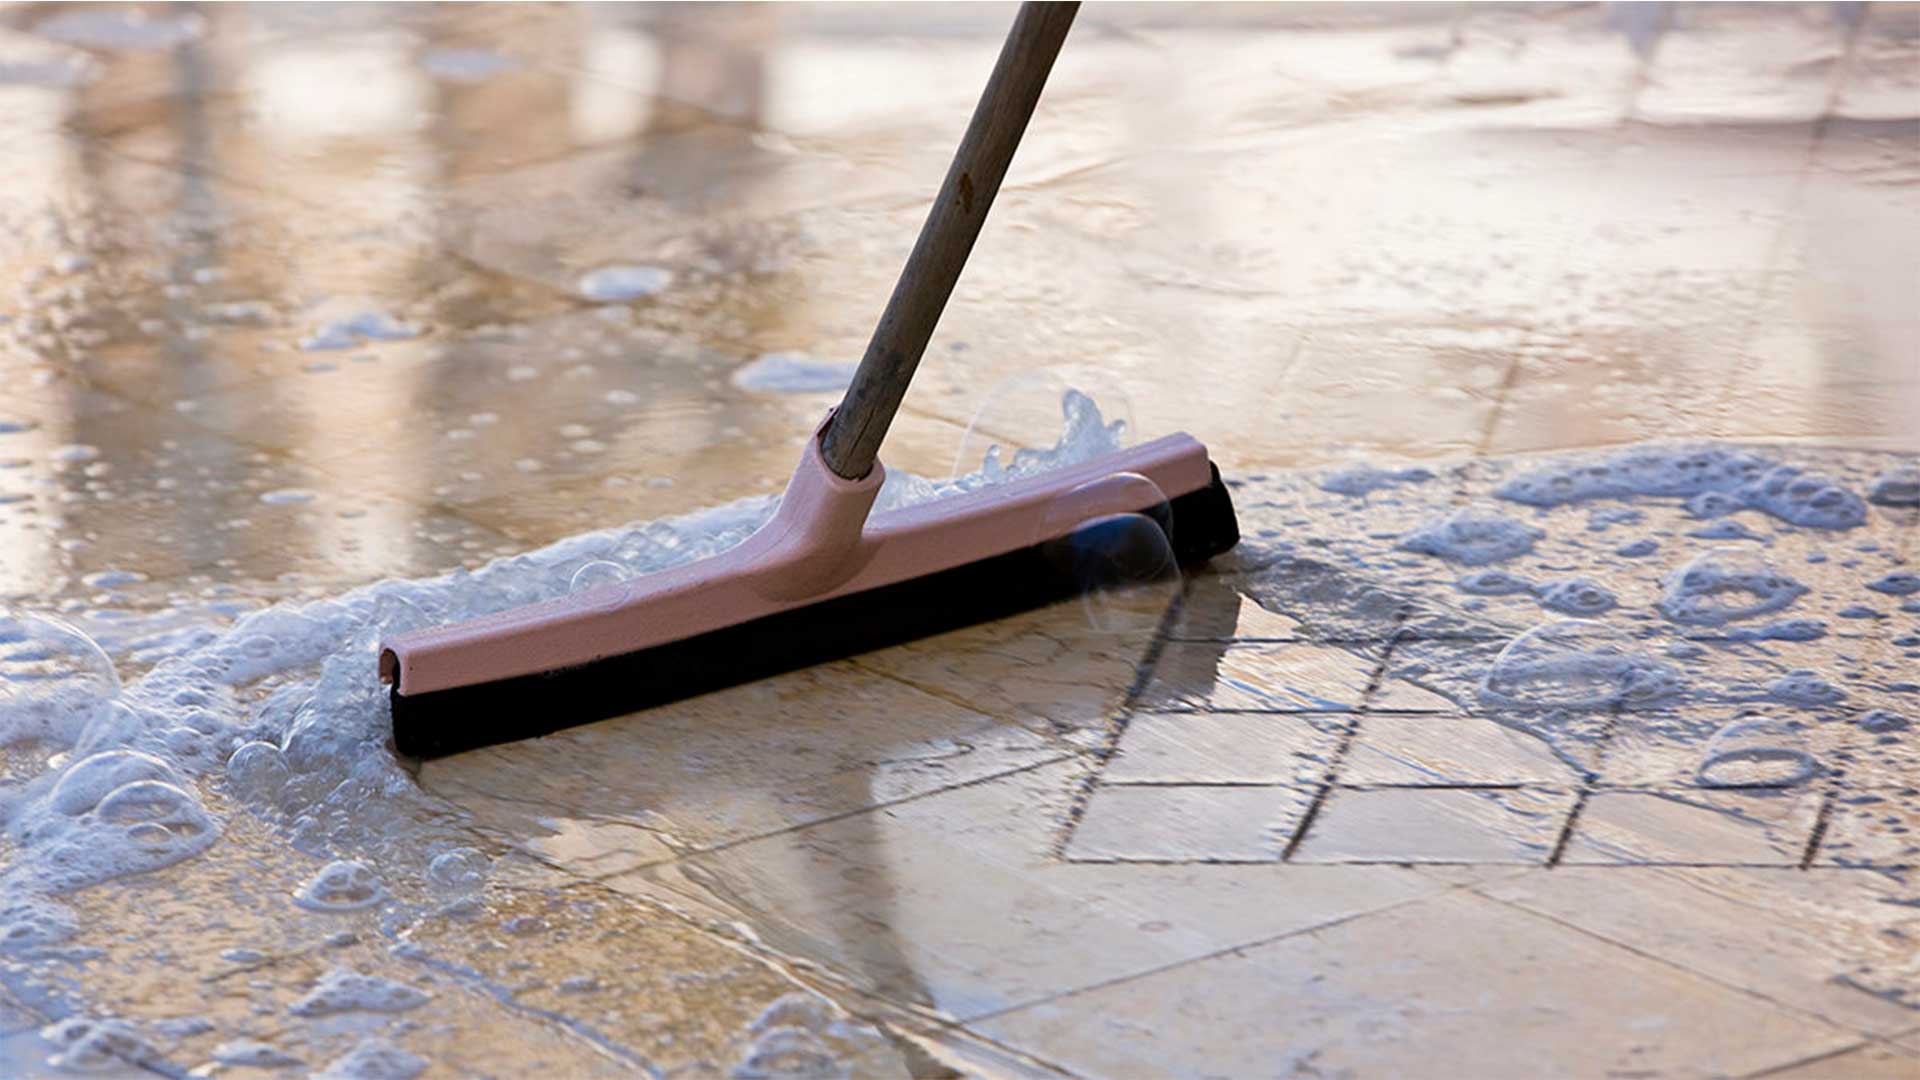
While removing tiles, you will leave broken tile pieces, mortar, and other debris on your floor. Use a floor scraper to remove them. For stubborn residue, you might need to apply a chemical remover. Make sure your room has proper ventilation while cleaning up so that dust can exit easily, leaving your room clean.
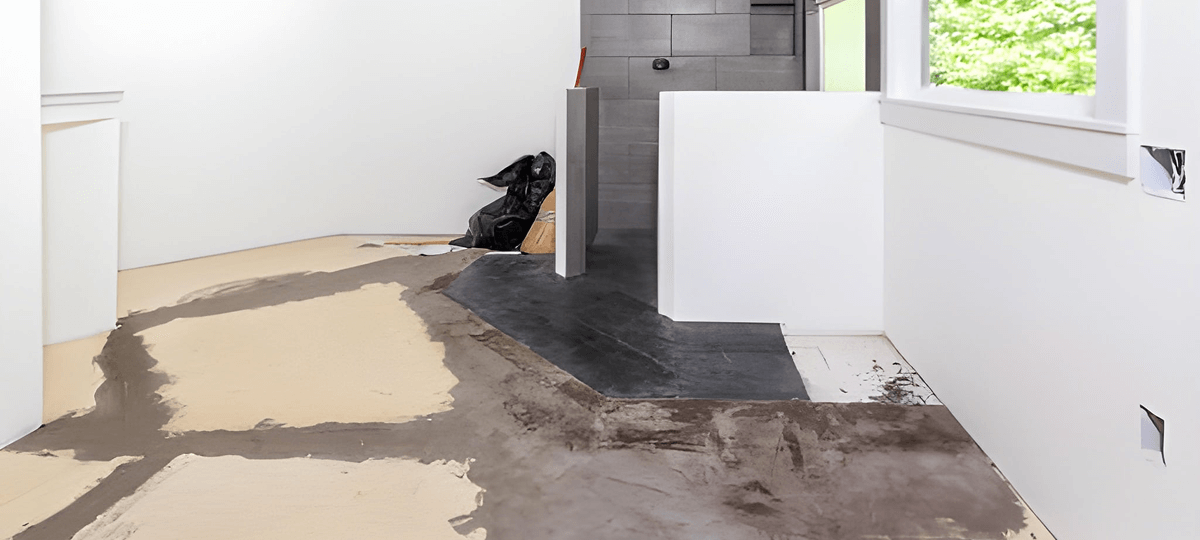
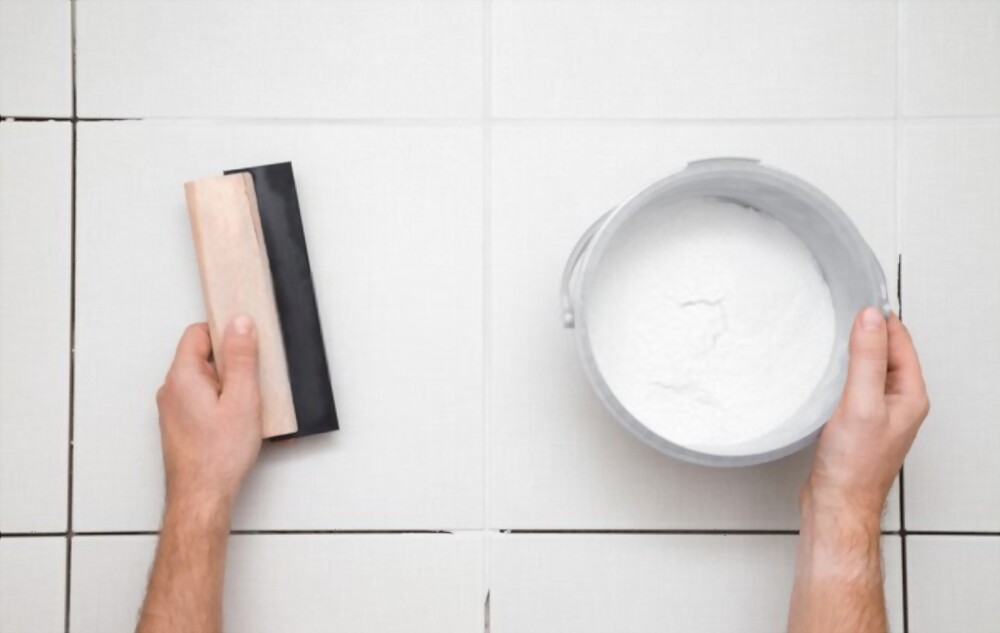
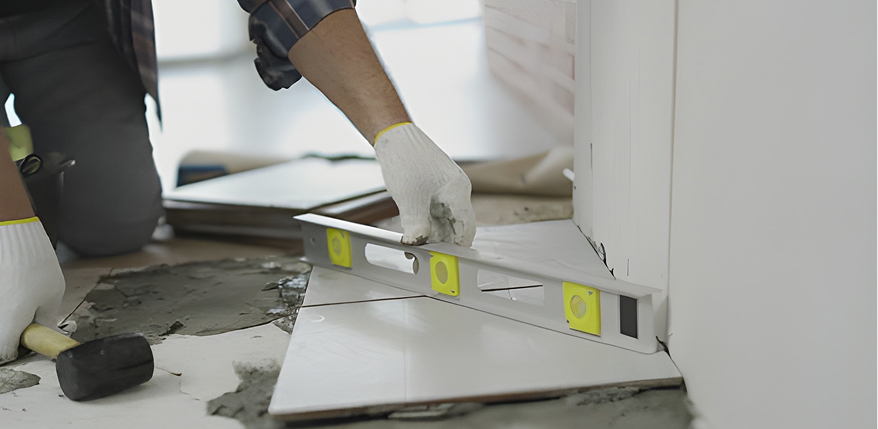
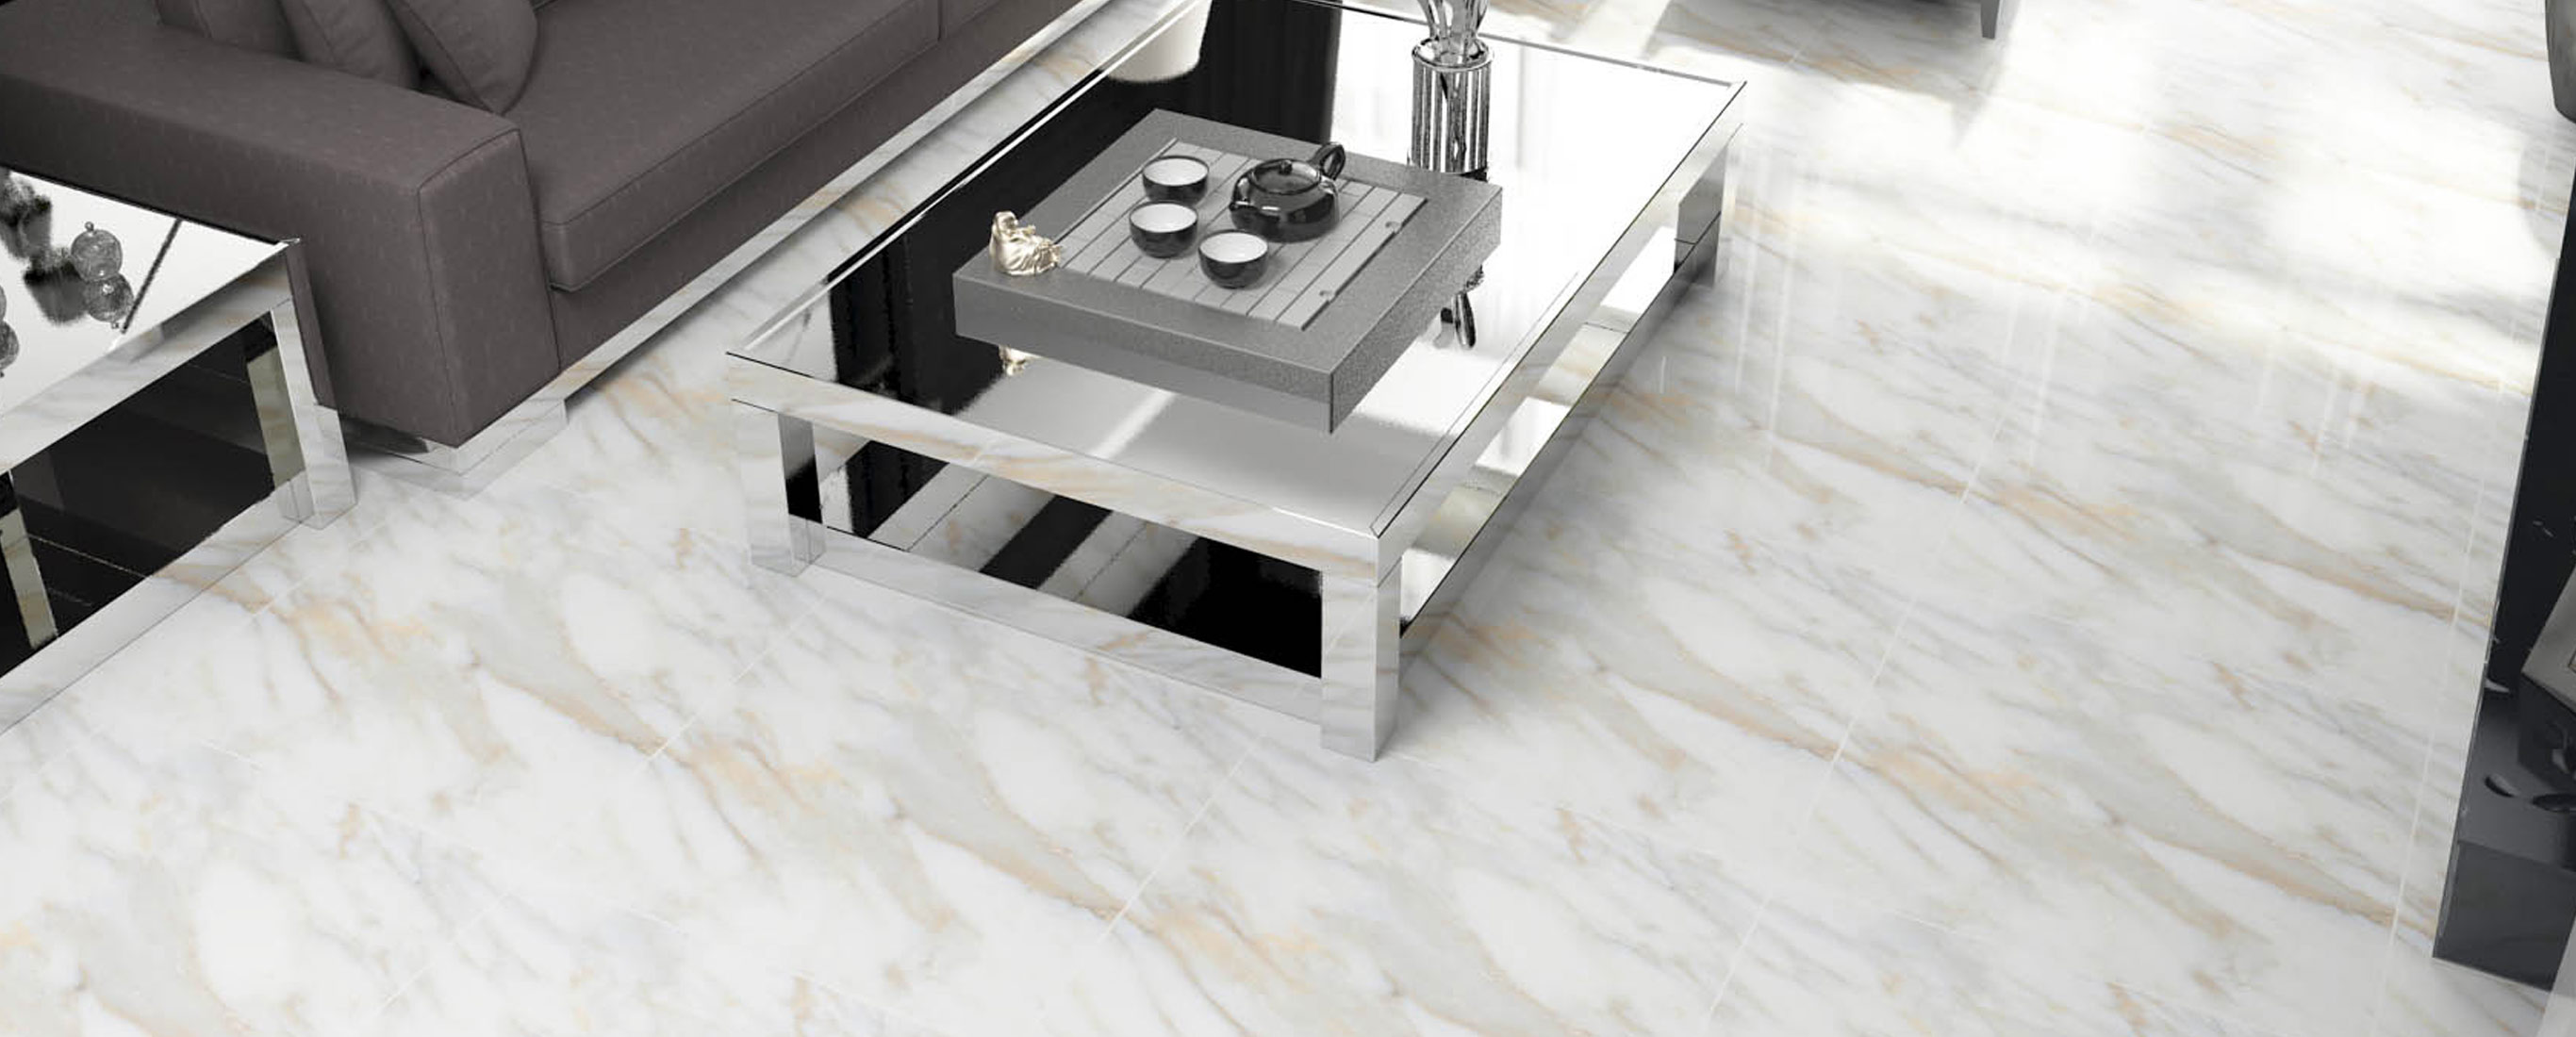
Look for cracks, water damage, or unevenness. Patch small problems with self-leveling compound, applying thin coats and letting each patch dry for 24 hours. For those with wood subfloors, replace broken plywood portions. This last check secures the foundation so that no further flooring failures occur. When you’ll need new tiles to install, check out our dedicated discussion on how to calculate the number of tiles needed for a room.
Environmental practices: Separate recyclable tiles from waste. You can donate intact pieces to habitat restoration programs.
Cost-saving tip: Reuse salvaged tiles for smaller projects, reducing material expenses.
Even seasoned DIYers can err, but awareness prevents issues. So, keep the following things in consideration while removing tiles from your floor so that you can get everything done-
Expert tip: Maintain a wet workspace for dust suppression, and dispose of materials at designated facilities to minimize environmental impact.
If you’ve read this far, you already know the basics on how to remove floor tiles. The tile removal process for the bedroom, bathroom, living room, or balcony is always the same. Just ensure you always utilize the right process with the right tools. By following this guide, you can avoid subfloor damage, ensure safety, and prepare for stunning new floors. But if challenges occur, seek help from a professional to get all your work done smoothly.
The easiest way to remove tiles is to use a chisel or a pry tool. Gently tap one tile with a hammer so that you don’t damage the subfloor. Remove the broken pieces with a floor scraper. Now, use the blank space to enter your chisel underneath other tiles and remove all the tiles sequentially.
There is no significant difference between DIY and professional methods for removing floor tiles. In most cases, the process is almost the same. Professional handypersons use automated tools such as power scrapers, rotary hammers with chisel attachments, or electric tile removers to speed up the process and reduce physical strain.
Identify the layer under the tile. If it is a cement board, set a saw to the board thickness, cut a grid, and pry up sections while dealing with the screws. If it is a membrane or plywood underlayment, slice seams with an oscillating tool and lift panels with tile attached. Scrape remaining adhesive, replace damaged wood, and re-fasten loose areas before new flooring.
Most ceramic and porcelain tiles crack during removal. Your best chance is when tiles were set with mastic on wood, not with thinset on concrete. Cut all grout, warm the tile with a heat gun to soften the adhesive, and ease in two thin putty knives from opposite sides. Even with care, expect some breakage and plan for loss.
Figure out what you have. Thinset is cement-based and chips hard, so grind the remaining ridges with a diamond cup and a HEPA vac. Mastic is tacky and softens with heat or a citrus or soy-based remover. On plywood, favor scraping and oscillating tool blades to avoid scarring the wood. Rinse or neutralize chemical removers as directed and let the surface dry fully.
Shut the water off, remove or protect fixtures, and cover the tub and drain. Ventilate well because bathrooms concentrate dust. Pop tiles in small sections with a rotary hammer and watch for waterproofing membranes. Once a membrane is breached, plan to redo waterproofing before reinstalling. Clean the substrate, confirm slope to the drain in wet zones, and replace wax or rubber rings when reinstalling the toilet.
Don't you know how to clean ceramic tiles? You can easily clean ceramic tiles in...
Whenever we think of a home improvement or remodeling project, we often start fe...
Grimy bathroom tiles? Have you tried many ways but couldn’t get a satisfac...
Porcelain tile is one of the strongest and most adaptable choices as a durable f...
Are scratches visible on your ceramic tiles? Do you want to learn how to re...
Do you get bored in the kitchen even though you love cooking a lot? Doesn't it e...
After time passes, we all see water damage in the shower. Of course, you can li...
Introduction Tiles are common for walls and floors because of their long-lastin...
A home is a place of happiness, relaxation and comfort. After a long, tiring day...
When we hear the word “Tiles”, the first thing that comes to our min...
Tiles are more than floor covers. They are essential in every room, be it a bath...
If you want your house to look its best, you must know how to polish tiles, even...
Have you ever wondered why your bathroom or kitchen tiles began to look like the...